Ask Your Brother: Jonathan’s Guide to Weatherstripping for Doors
If you have a draft near your doorway or window, you probably don’t have adequate weatherstripping. This doesn’t just disrupt the temperature inside of your home—it can also lead to unwanted pests, rain or snow debris, and other issues. To help protect your home from these unwanted problems, you need to know how to properly add weatherstripping to your doors. That way, your home stays cozy inside, and all those bugs, precipitation, and drafts stay out.
“When it comes to drafts at your door, it usually means you either have no weatherstripping, or you have a gap in your weatherstripping,” Jonathan says. Every door has different specifics to solve this issue. It can be as simple as clicking new weatherstripping into place. But other times, you need something a little sturdier. Jonathan is walking us through exactly what you need in the latest Ask Your Brother above, and we’re also sharing a step-by-step guide below to help fix the problem. With his handy how-tos and weatherstripping tips for doors, you’ll keep your doorway draft-free and your home safe from the elements.
Weatherstripping Materials for Doors
Your exact materials will vary depending on your door type (more on that below), but here are products you might need to get the job done:
How to Install Weatherstripping for Doors
1. Determine Your Door Type
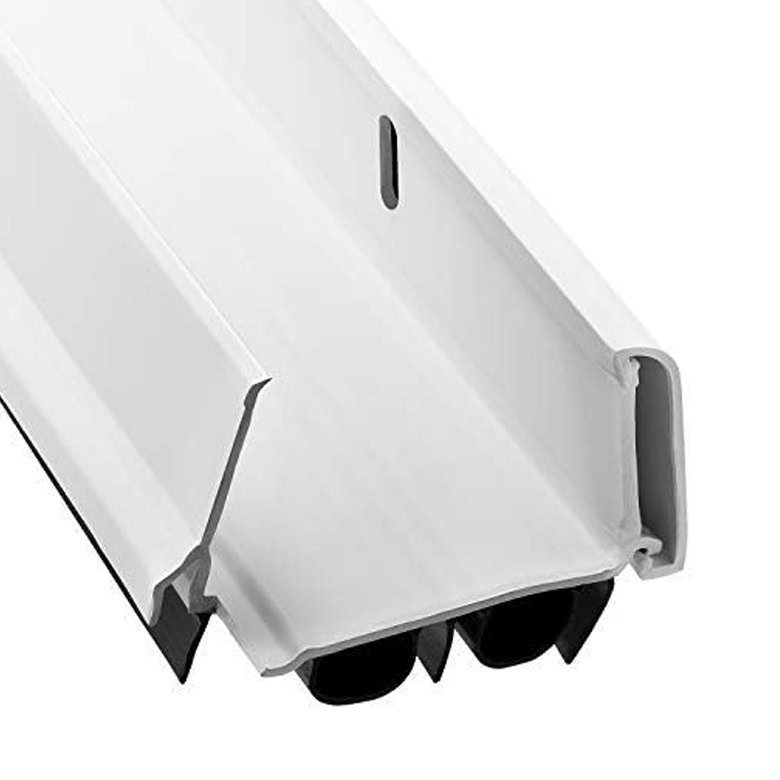
In modern doorways, the door jamb usually has a carved channel in it (called a kerf channel) that slots weatherstripping into it. But over time with use, it can get stripped off or come away from the groove. The easiest way to add weatherstripping back into this type of doorway is to buy weatherstripping with that kerf groove built into it so it can click right back into place.
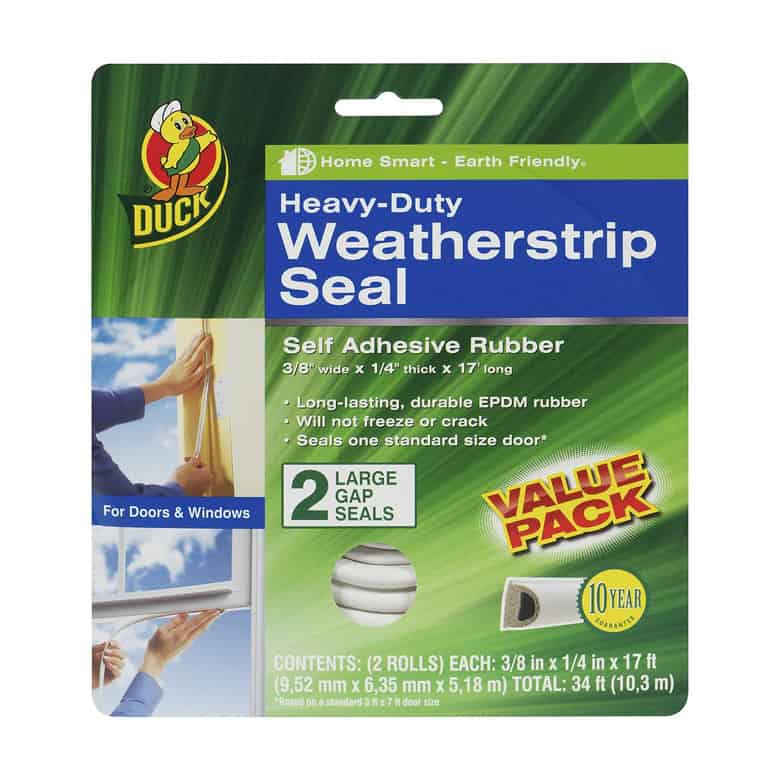
However, if you have an older doorway or a door with a jamb that does not have a kerf channel in it, then you’ll need a self-adhesive weatherstripping for doors. The key here is to make sure you measure the depth of your door jamb, so you get the right size weatherstripping that isn’t too large (overhanging the jamb) or too small (which can let air seep through).
2. Prep the Doorway for Bonding
In doorways without a kerf channel, you want to make sure your self-adhesive weatherstripping is prepped well before you apply it. You can do this by taking a fine grit sandpaper all the way around the doorframe, and then wipe it clean with a slightly damp rag. Just make sure you let it dry completely before applying the weatherstripping, since it won’t stick well on wet or damp surfaces. Once dry, cut the weatherstripping to size at each seam—where the edges meet at the top and sides—and secure into place.
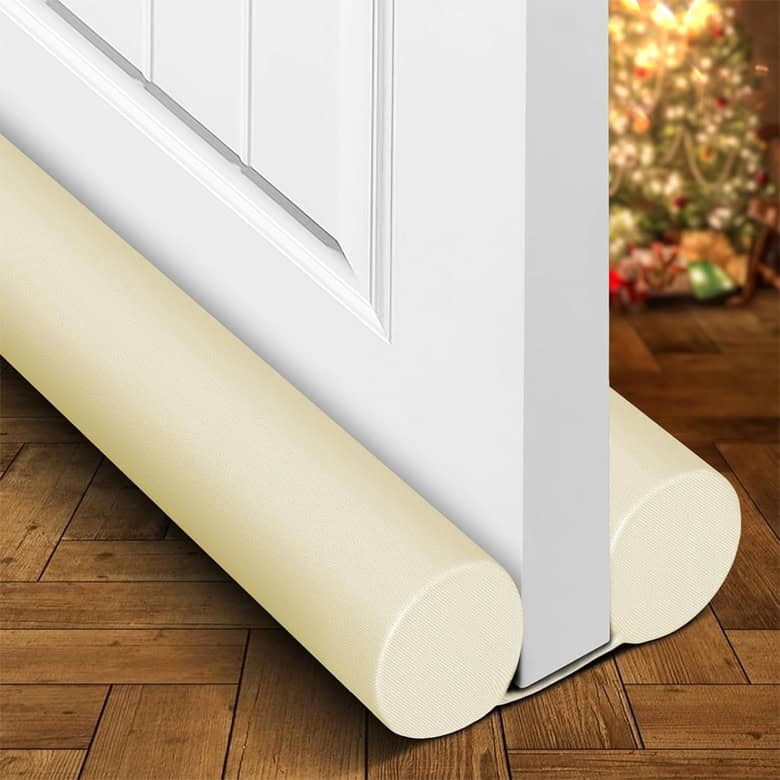
3. Add Sweeps to the Bottom of Your Door
“The bottom of your door is usually where the majority of bugs and the majority of your drafts come in, because it can be a thick gap,” Jonathan says. In the middle of the bottom rail of your door, you can add a thick rubber sweep (almost the full thickness of the door itself) to tightly close that gap. Adding a second sweep to the front of the bottom door rail (the side that faces the exterior of the home) will also help deter rain or snow, since it’ll shed the precipitation right off the door and away from the frame.
Jonathan’s Weatherstripping Tips
1. Always Check the Manufacturer’s Website
To be sure you’re buying the best weatherstripping and door sweeps for your specific door, always check the door manufacturer’s website to see what they recommend first. Doors can be aluminum, wood, metal, or another material—which can all call for different types of gold-standard weatherstripping recommendations.
2. Consider Adding an Interior Sweep
For added protection at the bottom of your door, you also have the option to screw in a second sweep onto the back of the door (facing inside the home). This is another layer of defense against unruly wind and rain—and bugs won’t stand a chance in the summertime months.
3. Double Check the Height of Your Gap
To save yourself time and money, always measure the height of the gap at the bottom of the doorway. You want your sweep to fit just right. Otherwise, you run the risk of the door not being able to close, which means you’d have to take the door off its hinges and shave a bit off the bottom rail of the door in order for the sweep to fit.
Shop Handy Weatherstripping Products for Doors

Ask Your Brother: What’s in Jonathan’s Tool Kit?
Have you ever heard of an adjustable drillbit attachment?
Read More

Bree Pulver O'Hagan
Bree is the Senior Digital Editor at DrewandJonathan.com. In the past, she’s worked for publications focused on home improvement and sustainable living. Bree’s Pinterest board is filled with cozy textures; vintage patterns; sculptural furniture; and moody, warm-toned colors. She has a degree concentrated in the intersection of writing and architecture, which influences her passion for exploring creative solutions to unusual home layouts and stylish renter-friendly decor. She’s a self-proclaimed pro at finding the best antique furniture in the most unlikely of places (but her cat Blue can certainly back these claims).
⚖️ How We Choose What to Recommend