How to Hang Floating Shelves
This site contains affiliate links to products. We may receive commission for purchases made through these links. Price at time of publish date may change.
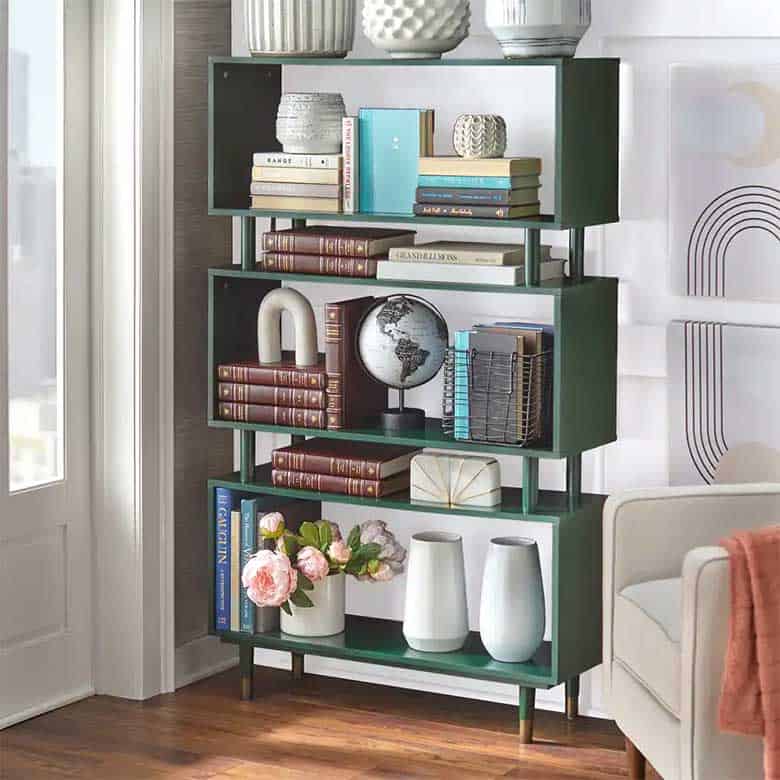
Floating shelves are an easy (and budget-friendly) way to add some stylish storage to your wall, or show off a few of your favorite things. But figuring out how to hang floating shelves can be tricky. There are a variety of different hanging methods, from hidden internal brackets to keyhole mounting and more. So deciding which one is best for your walls and the items you want to display is very important. For example, the type of bracket system and reinforcement method you use will vary widely if you’re planning to display your book collection vs. your kiddo’s stuffed animals.
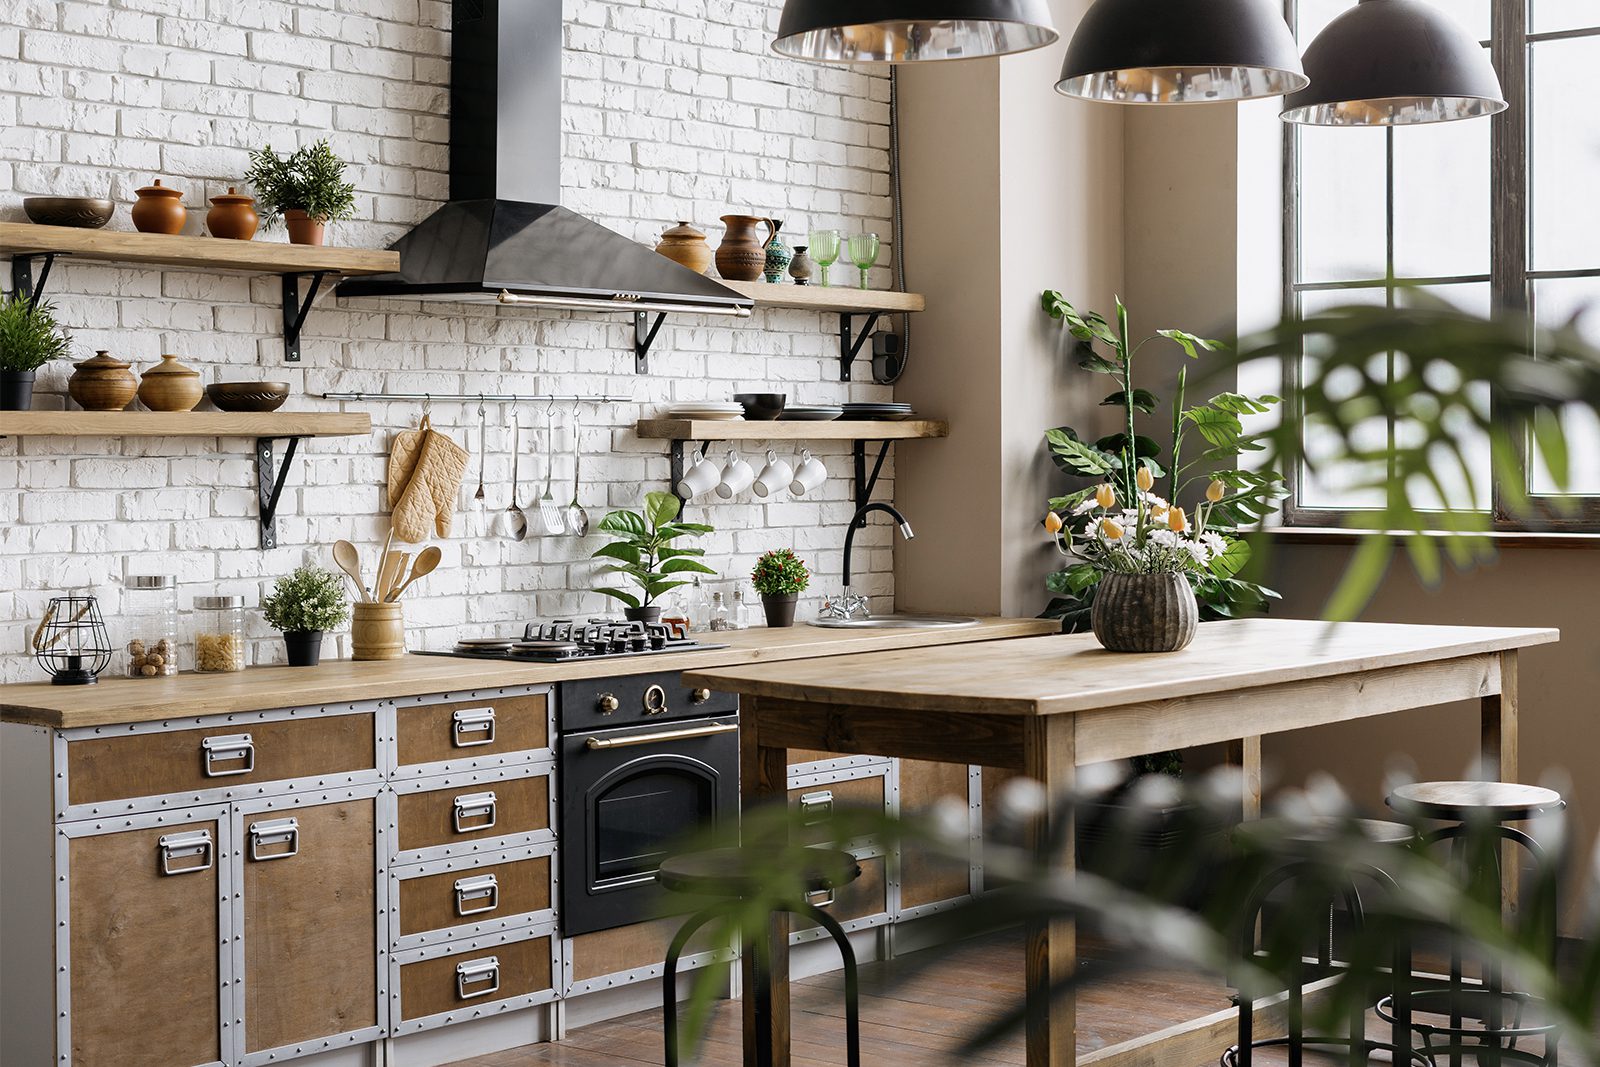
In order to help you choose which floating shelves will fit the bill for you, we’re going to take you through some tips and tricks to make it easy. Perhaps you’d like to showcase gorgeous open shelving in the kitchen, or maybe you’re planning on decorating a new nursery. Whichever room you’d like to don with floating shelves, we’re here to help guide you through it. That way, you can be sure you’re hanging your shelves safely and properly.
Before You Hang Your Shelves
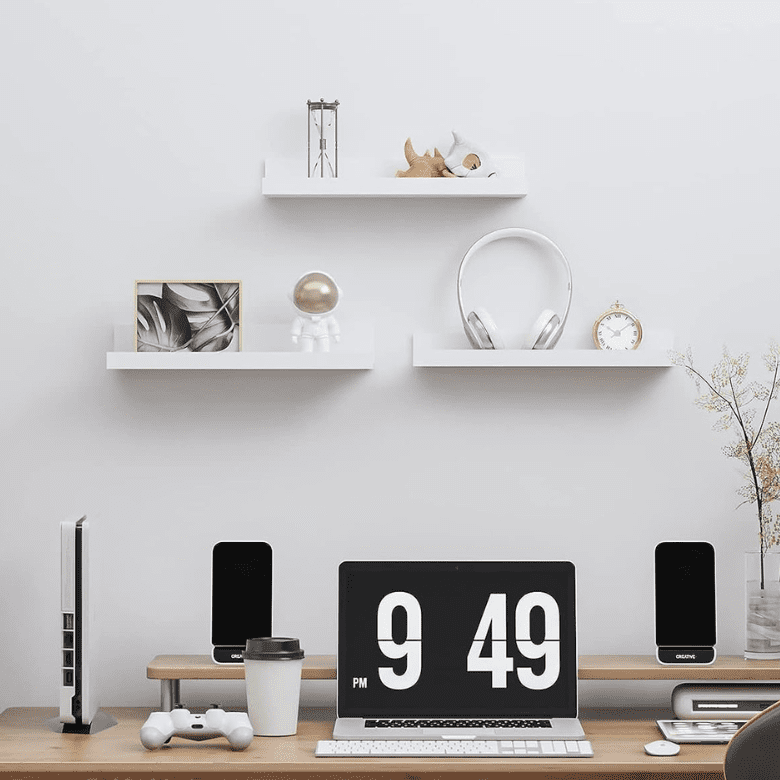
Pick the Best Shelf Style for You
Before you even think of hanging a floating shelf, make sure you know the shelves (and your walls) are up to the job. If you’re working with a wall that does not have studs, you should use a drywall anchor to secure the shelf in place so it’s sturdy. Weight capacity is determined by the material of the shelf, the strength of its brackets, and its depth. The deeper the shelf, the less strong it is. Heavy-duty floating shelves have hidden internal brackets. (Any exposed brackets are decorative). Shelves that use keyhole mounting are made to hang from screws, so they’re better suited to only hold lightweight objects.
Stud vs. Anchor: Which Should You Use?
Stud placement is crucial to deciding where to put your shelf. For a safe hold, screw hardware directly into at least one stud (one of the vertical two-by-fours that make up the frame of your home). If you can only screw into one stud, you should be screwing the the center of your shelf into it. Use a reliable stud finder to identify them, and mark on either side to keep track of their location. Standard stud spacing is 16 inches apart, but this can vary. Always remember to measure twice.
No stud? You’ll need to anchor the floating shelves with those wall anchors we mentioned before. If your shelf came with flimsy plastic ones, ditch them for heavy-duty options. When figuring out how to hang floating shelves, consider your wall material (drywall? plaster? brick?), its thickness, and how much weight the shelf will support (including the shelf itself).
For hanging heavy floating shelves, toggle or molly bolts are good options for both drywall and plaster. Threaded drywall anchors will work best for lightweight applications. But most hardware that comes with your shelves will include the anchor and the screw or bolt to secure it. The packaging will mention the anchor’s weight capacity and wall type, as well as what drill bit is needed for the pilot hole. Read these instructions carefully so you know you’re hanging them right.
Easy Floating Shelf Hanging Hacks
Painter’s tape is going to be your new best friend! After you’ve picked the spot for your shelf, put a long horizontal piece of tape on the wall and mark your studs on the tape, so you avoid visible pencil markings. Then place strips on the wall to help visualize spacing between shelves. If the shelves you purchase come with a hanging template, you can use painter’s tape to hang that. And if you have a plaster wall, place a small piece of tape over your mark before drilling. This is going to prevent cracking. Alternatively, you can place a tape curl directly below to catch dust. Then, when you’re done, just peel it off!
What You Need to Hang Floating Shelves
- Tape measure
- Pencil
- Level
- Stud finder
- Painter’s tape
- Wood screws
- Wall anchors
- Power drill (and corresponding drill bit)
- Screwdriver
How to Hang Floating Shelves
1. Locate the Studs
Using a stud finder and a pencil, lightly mark where each stud is detected in the wall near the area you’d like your shelves hung. When hanging load-bearing shelves, studs are important for reinforcement. Hanging shelves into studs will allow them to bear more weight, and will ensure they won’t accidentally rip off the wall. If you have to work with wall anchors, make sure you’re installing them correctly according to the manufacturer guidelines.
2. Measure and Mark
Then, place your level against the wall near where you’ll want the shelves to hang, making sure the level bubble is centered. Use a piece of painters tape or a pencil and a straight-edge (or the shelf itself) to map out a straight line that’s approximately as wide as the shelf.
This One Simple Change Will Transform Your Exteriors
SPONSORED: Stylish front porch decor and a beautifully manicured lawn may complete your home’s exterior look, but the real game-changer is the lighting!

3. Make It Level
Using your level line and stud markings for reference, hold up the shelf brackets to the wall and trace the holes for your screws. Sometimes shelves come with a hanging template to make this task easier. If you have a bracket that has multiple screw holes, secure the middle one first. Then ensure the shelf is level before securing the ones on either end.
3. Secure the Shelf In Place
Time to drill! Use your markings to guide your screws into place. Then, using your floating shelves’ instructions for reference, install the shelf and secure it into its brackets. It’s important to drill the screw in firmly but not aggressively. You don’t want to strip the screw head.
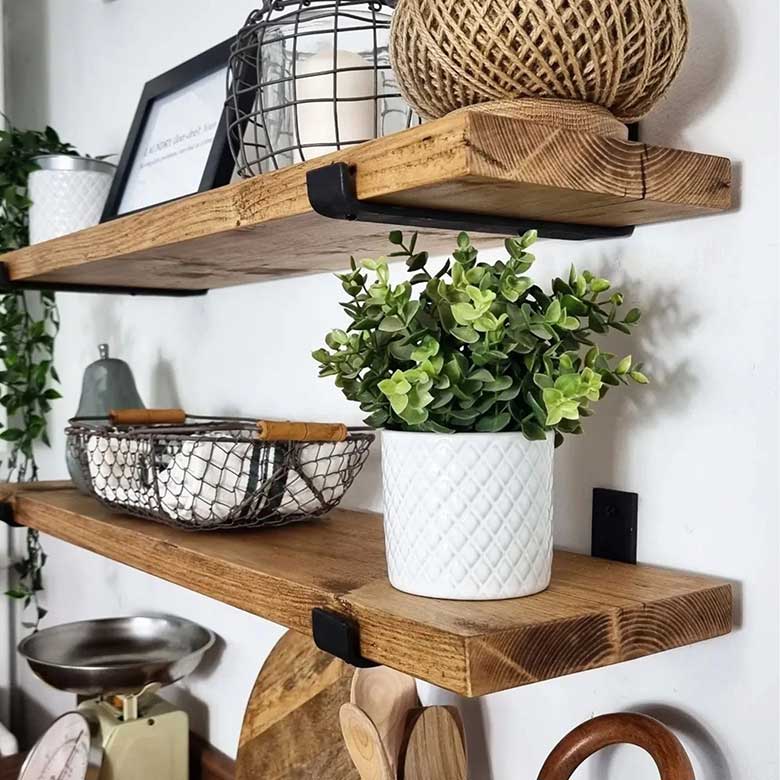
4. Test Sturdiness and Display Your Items
When your shelf is hung, test for sturdiness by gently trying to move it. The screws should feel secure, without any wiggling. When placing your items on display, make sure to evenly distribute their weight across the shelf. Now give yourself a pat on the back—you did it!
Editor-Favorite Floating Shelves
More of Our Best Shelving Guides
- 15 Best Wayfair Bookshelves to Order Online
- How to Style Your Bookshelf Like a Designer
- 15 Best Garage Shelving Ideas to Make Sense of the Mess
- How to Hang Floating Shelves
- 10+ Floating Shelf Decorating Ideas for Every Room
- 15 Best Bookshelves for Your Kids’ Rooms for Stylish Storage
- The Best Bookshelf Decor to Complete Your Design