How to Clean a Rug—The Right Way
This site contains affiliate links to products. We may receive commission for purchases made through these links. Price at time of publish date may change.
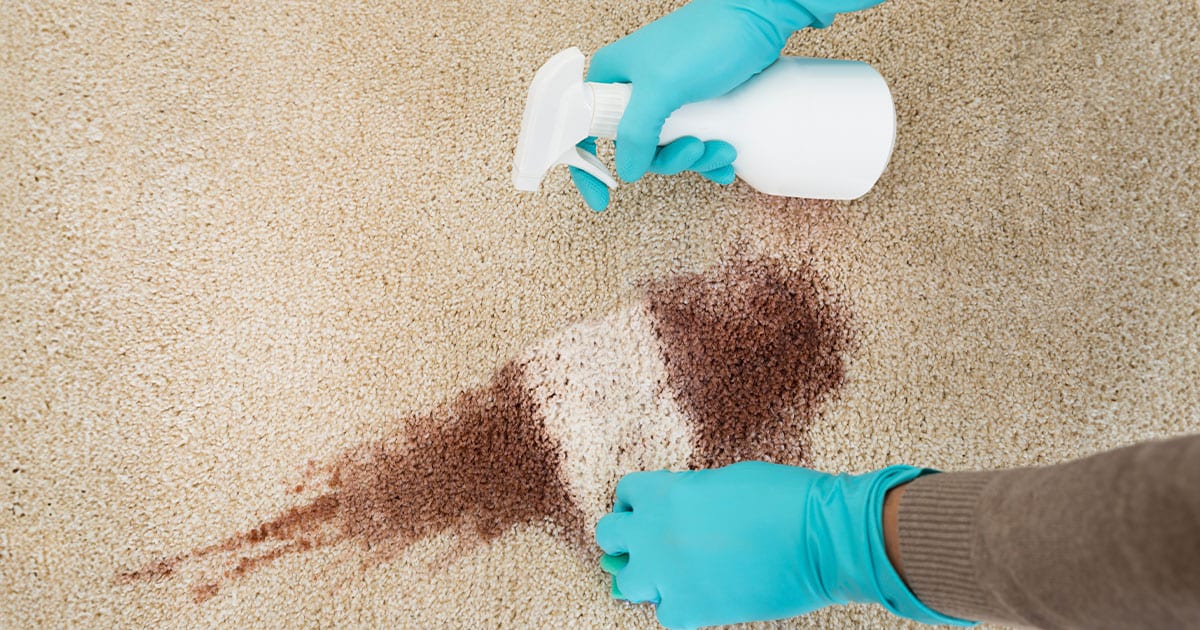
If you have a busy household, then you know how easily a rug can get dirty. Whether from a sloshy glass of red wine, a cute pup with not-so-cute muddy paws, or a young finger painter gone rogue, there’s no end to the number of ways your area rug can go from pristine to in need of a serious clean. Even if your rug doesn’t appear all that soiled, you’d be surprised how much dust and dirt can build up over time, creating a layer of ick you won’t notice until it’s actually clean again. A good rule of thumb is to give your rug a deep clean at least once a year. Not only will you notice a difference in how it looks, but also how your room smells. Fabrics can hold onto odors easily, so learning how to clean a rug can truly transform the cleanliness of your space.
A couple of tips before we start:
- You’ll need to clean the rug outside, so it’s a good idea to check the weather first. You wouldn’t want to wash your rug if rain is in the forecast! Extra moisture in the air will increase drying time, and can lead to unwelcome issues like mold and mildew.
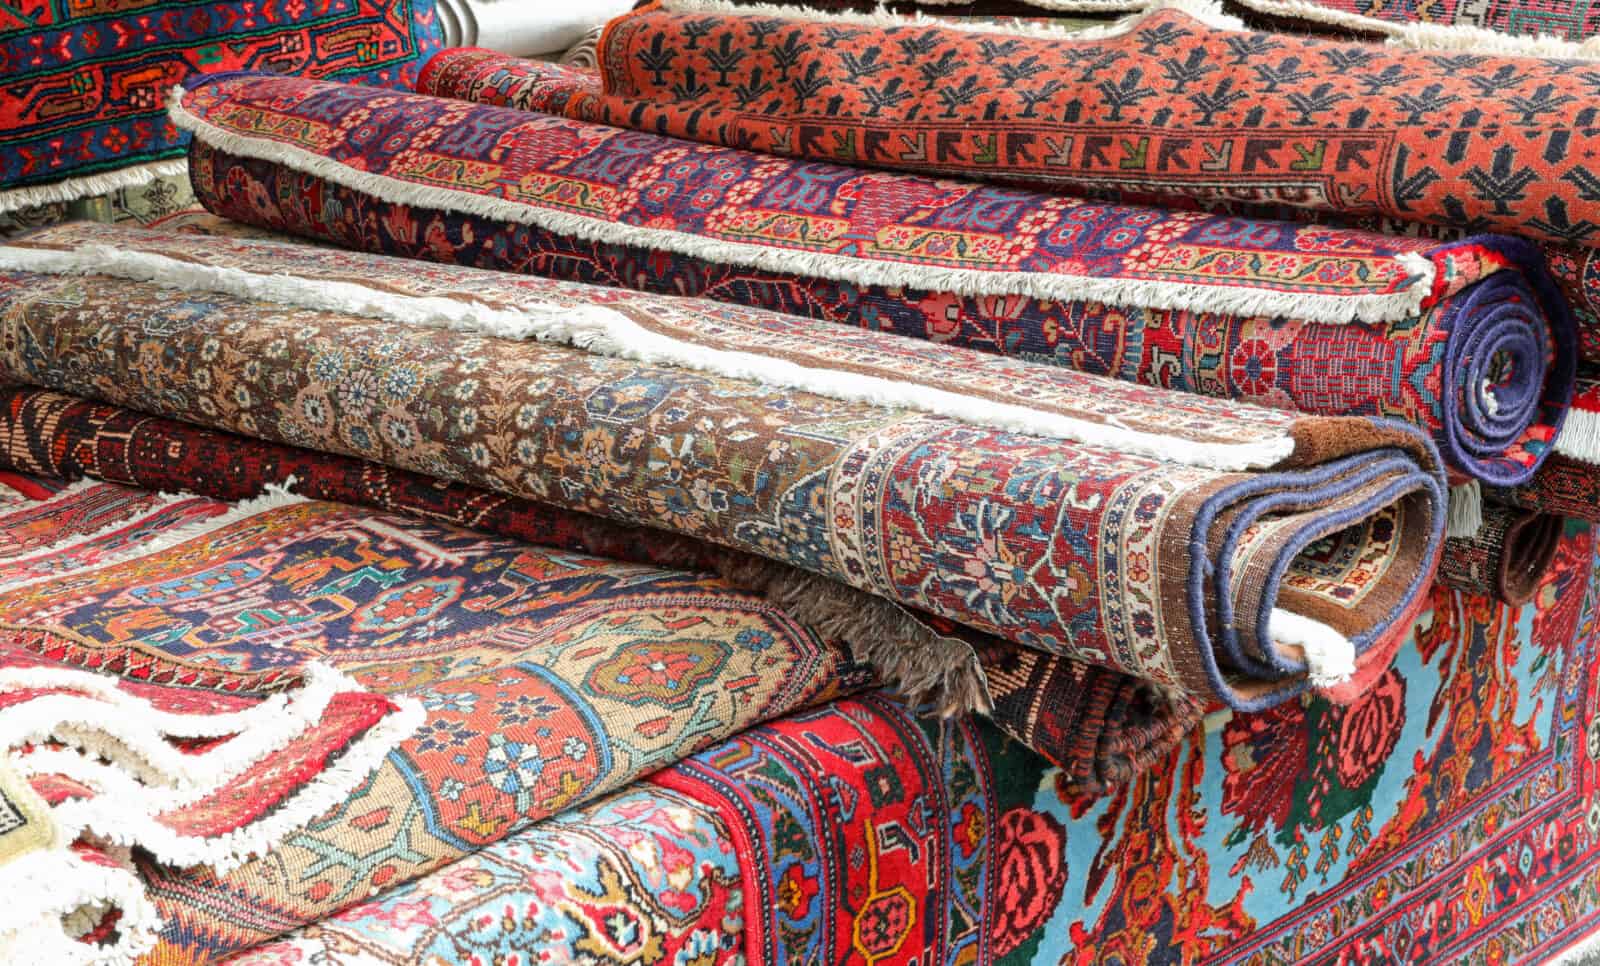
- You should also assess the type of rug you have. Specialty varieties like Oriental rugs, Persian rugs, and vintage rugs are best left to cleaning professionals.
Above all, be sure to check the underside of the rug for a label with washing instructions. If it calls for specific care, strictly follow those directions. Otherwise, the cleaning instructions below will work on most everyday synthetic and natural-fiber rugs. (We mention this again later, but always test any cleaner on a small corner of your rug first to ensure it won’t cause damage!) Now, let’s get to work.
Supplies You’ll Need to Clean an Area Rug


How to Clean a Rug
Step 1: Clear an Area for Cleaning
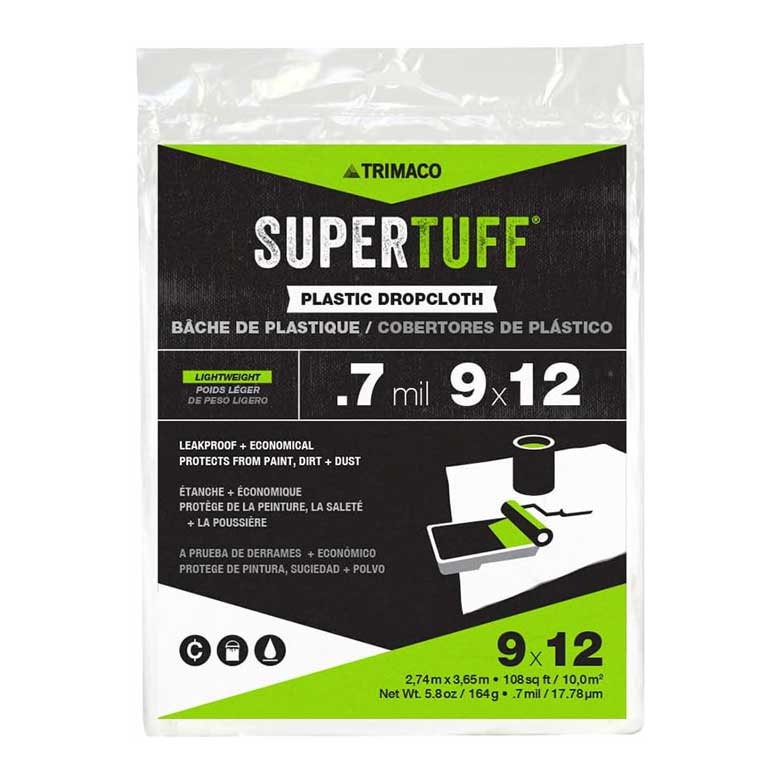
Take your rug outside to an area of your home that won’t get damaged by excess water, like the garage, backyard, or driveway. Ideally, you’ll want the rug to be located somewhere where there’s plenty of space for the dirty rug water to run and drain. Lay down a tarp or drop cloth, and place your rug on top.
Step 2: Vacuum and Shake Out the Rug
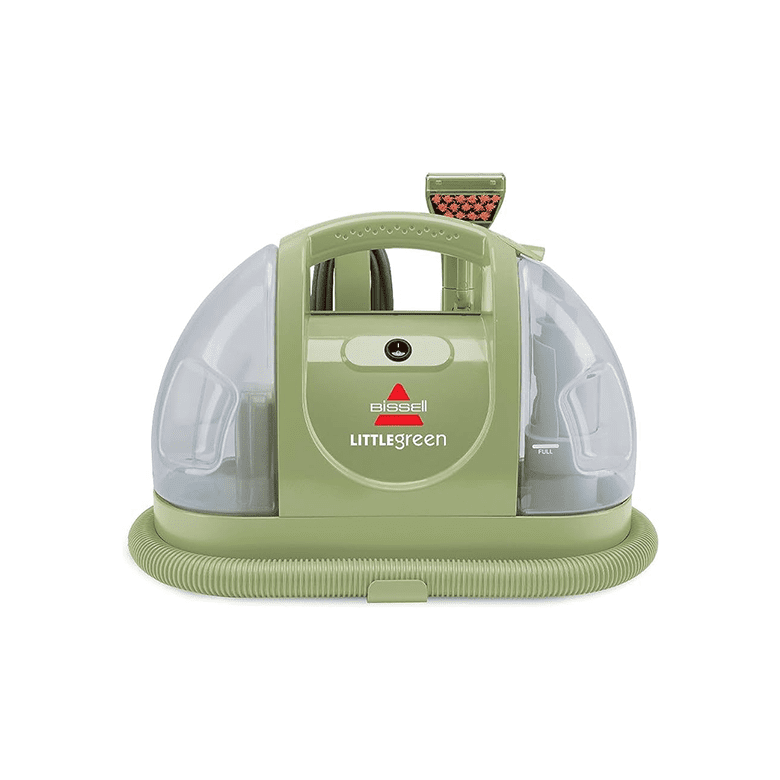
First, shake out the rug to remove set-in debris. Then, use a vacuum with good suction and vacuum the surface thoroughly, front and back, to remove any remaining crumbs or dust.
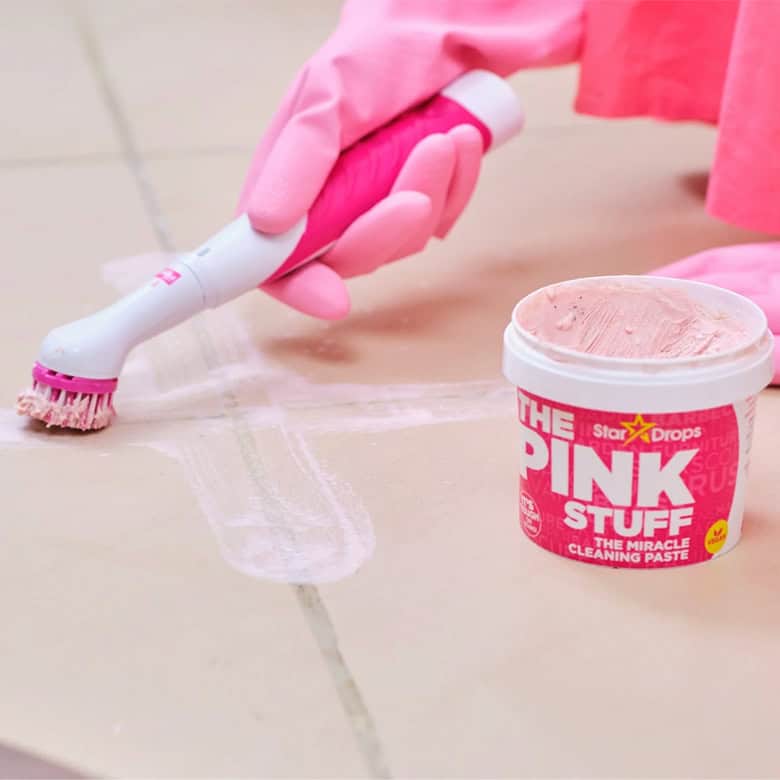
Step 3: Grab Your Supplies and Start Scrubbing
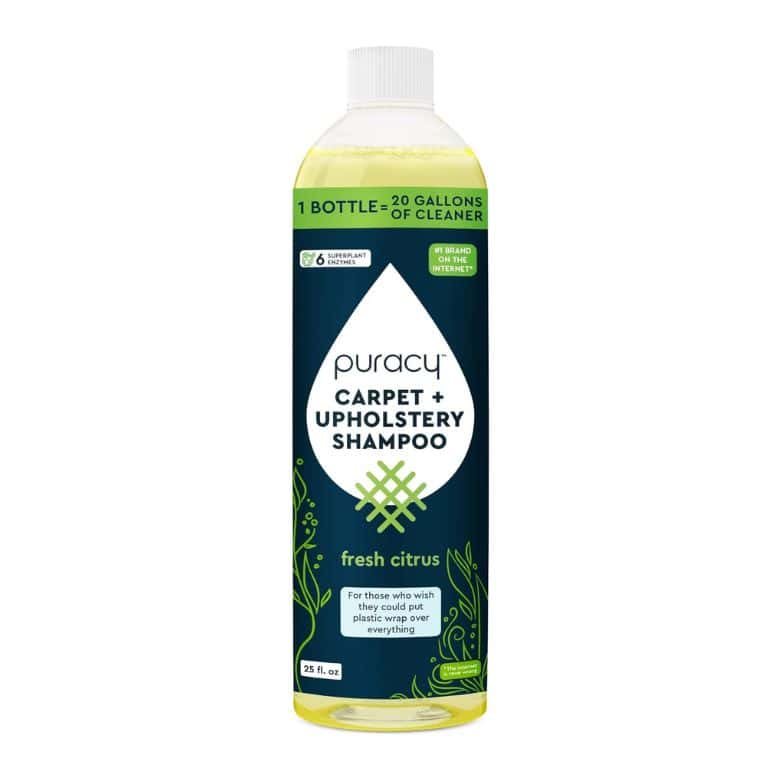
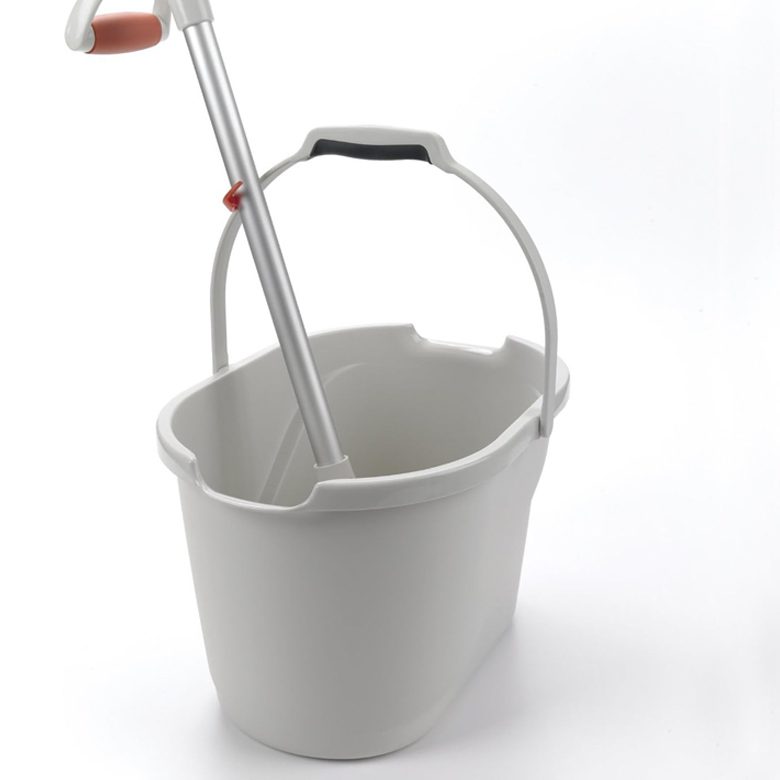
Fill a bucket with a mix of rug shampoo and warm water, according to the carpet cleaner package directions. Slip on your cleaning gloves, and dip a sponge into the soapy mix to test the solution on one small corner of the rug. If the colors don’t run and the material doesn’t look or feel damaged, it’s time to get cleaning! Using a soft-bristled scrub brush, begin lightly scrubbing the rug in each direction—up and down, and side to side.
Step 4: Let the Cleaner Sit
Once the rug is covered with suds, let it sit for at least five minutes so the cleaner can work its magic. If you don’t have a garden hose at your disposal, take this time to rinse off the scrub brush and empty your bucket. Then, refill with clean water to rinse the rug.
Step 5: Rinse Thoroughly, and Repeat If Necessary
Using a garden hose or clean water, rinse off your rug. Make sure you’re spraying the rug down from top to bottom, until the runoff is clear and soap-free. It might take some time to get the runoff water completely clear, but it’s important to be patient and rinse out the carpet cleaner thoroughly.
Depending on how dirty your area rug is, you may have to repeat the wash-and-rinse cycle more than once. It might sound cumbersome, but we promise it’ll be worth it at the end!
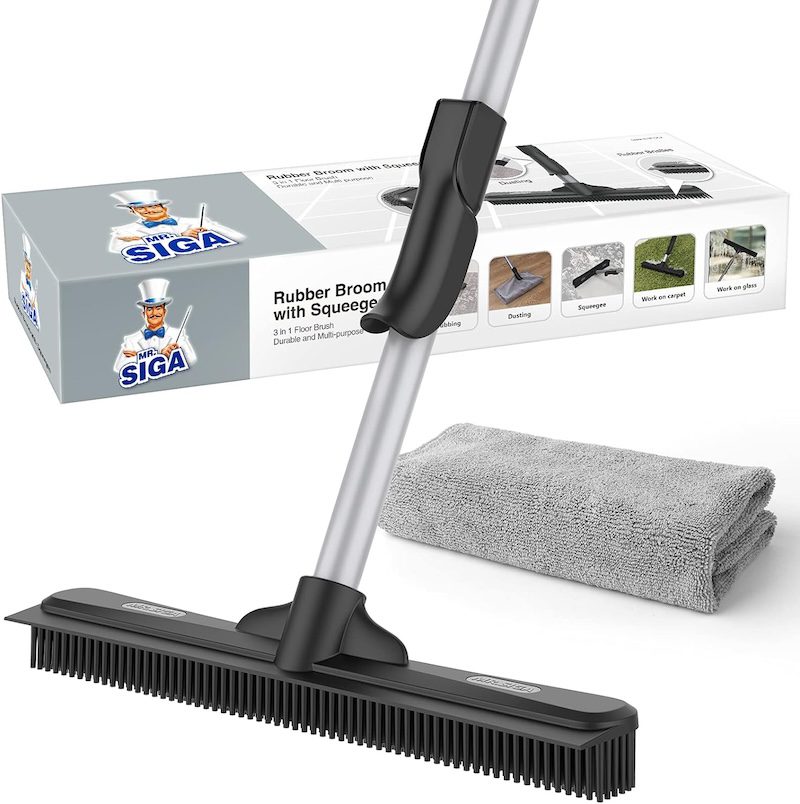
Step 6: Use a Carpet Squeegee to Remove Excess Water
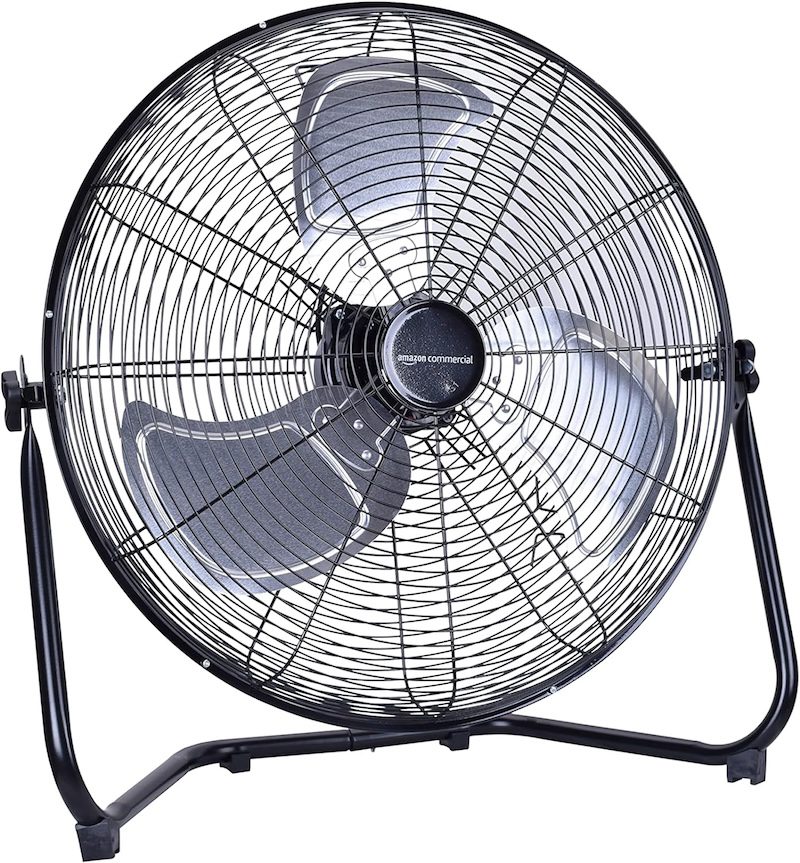
Remove as much excess water as possible using a squeegee and/or clean shop towels to ring it out. Leaving the rug with excess water can cause mold or mildew to grow, so it’s important to get as much wetness out as possible. Afterwards, let the rug dry. You can use an industrial fan, or hang the rug on the fence to speed up the drying process. Make sure to look at the rug’s cleaning instructions, as some rugs do not allow for air drying in direct sunlight.
Step 7: Clean One Final Time With a Vacuum and Place It Back
Once your rug is completely dry (and looking fabulous!), bring it back to its room, lay out the rug pad, and place the rug back in its rightful place. Vacuum the area rug one final time for good measure. Then, stand back and admire how great the room looks, thanks to you!
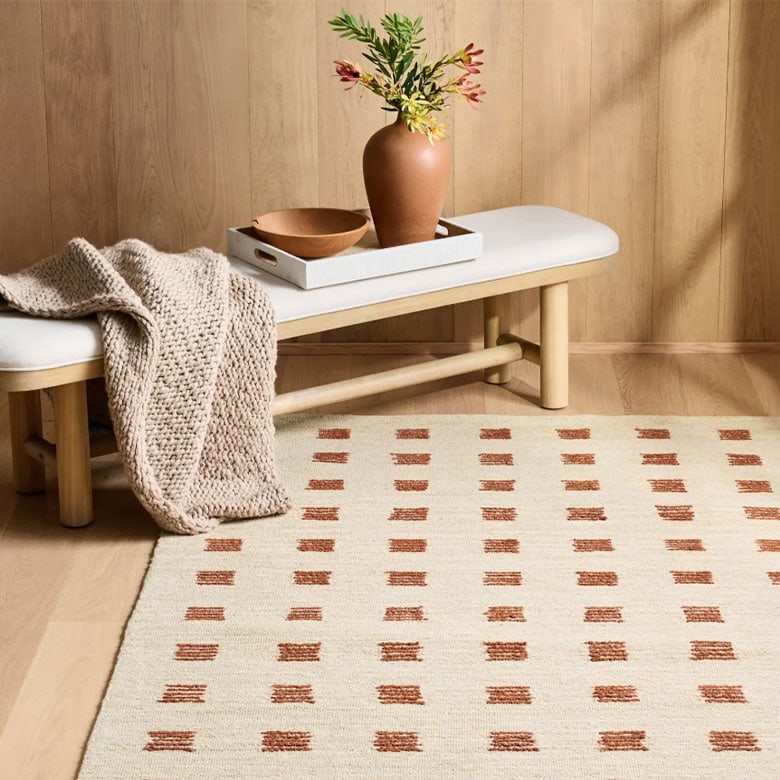
Top-Selling Area Rugs


The Best Vacuums on the Market, According to Our Editors
These top-rated vacuums survived a *lot* of wear, tear, and pet hair.
Read More

Amy Gordon
Amy Gordon is a freelance writer and editor who splits her time between New York, NY and Vieques, PR. When she’s not at her desk, you’ll probably find her on a plane with her nose in a book, in the Caribbean snorkeling through coral reefs, or on the couch watching true crime TV. Learn more and read her work at www.amygordonmedia.com.
⚖️ How We Choose What to Recommend