How to Install a Stair Runner Carpet
This site contains affiliate links to products. We may receive commission for purchases made through these links. Price at time of publish date may change.
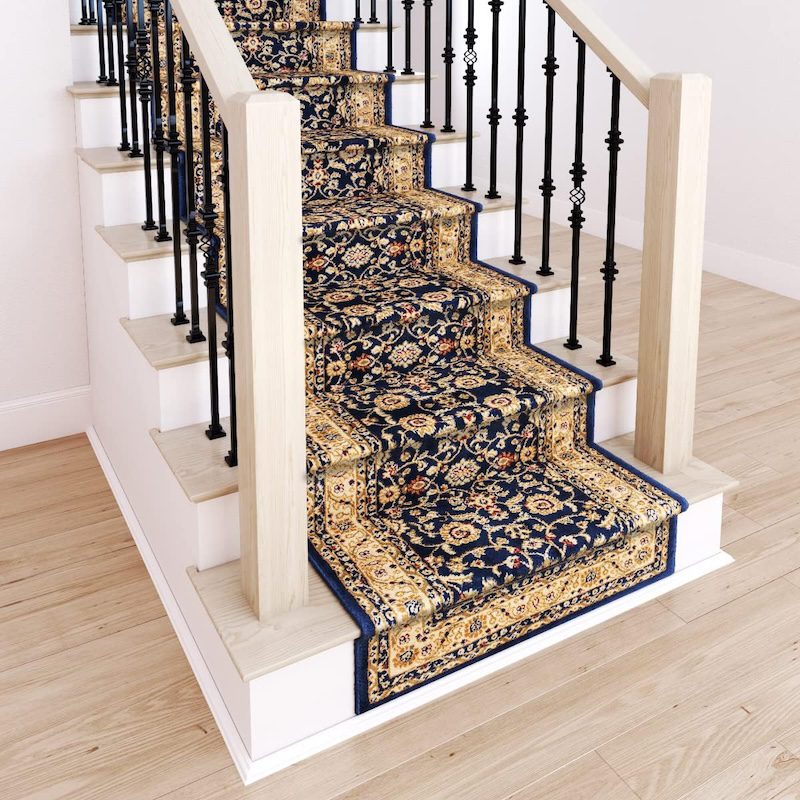
Installing a stair runner carpet is a great way to add a bit of personality and a cozy feel to your entryway, but did you know it’s also great for safety purposes? Stairs can be pretty slippery, but a runner will allow for better grip while you’re strutting down your steps. It might look intimidating at first, but trust us, as long as you take your time and use the right tools, you can absolutely treat this as a DIY project.
There might be a few things you’re wondering before you get started, like if you have the right stairs for the job, or if there’s any prep work you should tackle before you gather your supplies. Oh, and also, what supplies do you need in the first place? We’ve covered all these questions and more, and we to take you step-by-step through the installation process to make it as easy as possible. Don’t sweat it, you got this!
“If you have kids or pets or clumsy tendencies like I do, stair runners are a family-friendly solution to prevent slips and reduce wear and tear on your hardwood treads.”
– Jonathan
Will My Stairs Work?
If you’re a novice learning how to install a stair runner for the first time, stick with straight hardwood stairs that have treads with finished edges. AKA: Don’t attempt this DIY if you’re trying work a runner around a spiral staircase. Likewise, leave this project to a trained professional if you have fully-carpeted stairs you’re trying to cover. In that case, this DIY stair runner project might get a bit more complicated, as carpeting might be covering an unsightly subfloor—a bigger project and one for the pros.
Measure, Then Measure Again
Both the length and the width of your stairs matters a great deal here. First, measure the total width of your steps. Then, subtract how much wood you’d like exposed on either side. A good few inches on each side will look great. (For example, the standard stair width is 36 inches. In that case, you’d want to look for runners that are between 27 and 30 inches wide.) To calculate runner length, measure one of your step’s depth and total riser height, including the nose (the rounded edge of the step). Multiply the depth by the total number of treads, and the height by the total number of risers. Add those numbers, plus at least 6 inches extra for trimming.
How to Decide on a Stair Runner Carpet
Material
You’ll want to look for a rug that’s durable yet pliable, with a tightly woven weave. Wool, indoor/outdoor polypropylene, and high-quality woven cotton are good options that can stand up to heavy use. Avoid materials with a loose-weave construction that might fray when cut, as it could cause the rug to become stretched and undone.
Color
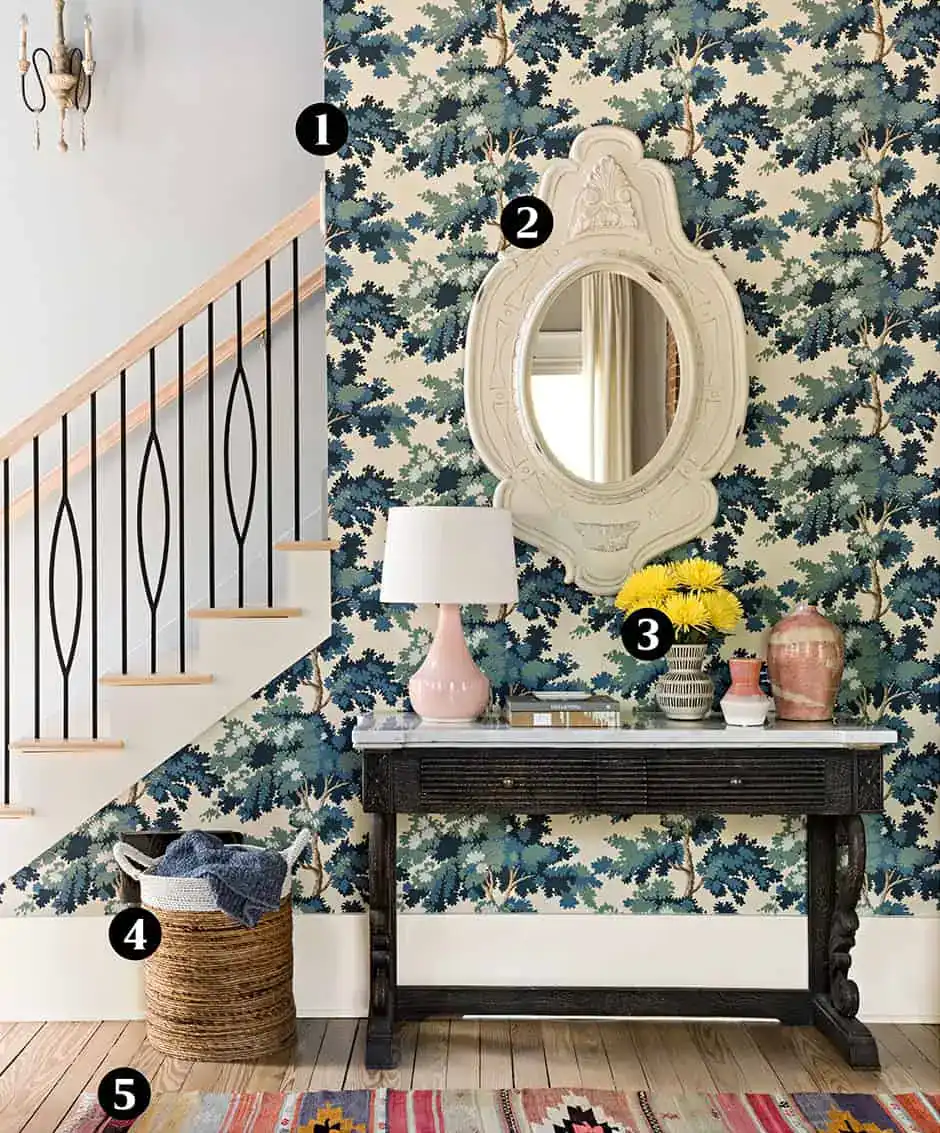
The options are endless, but darker colors tend to be more forgiving in high-traffic areas. Ultimately, you should pick something that makes you happy and that you think will mesh well with your other décor, as this will be a more permanent piece.
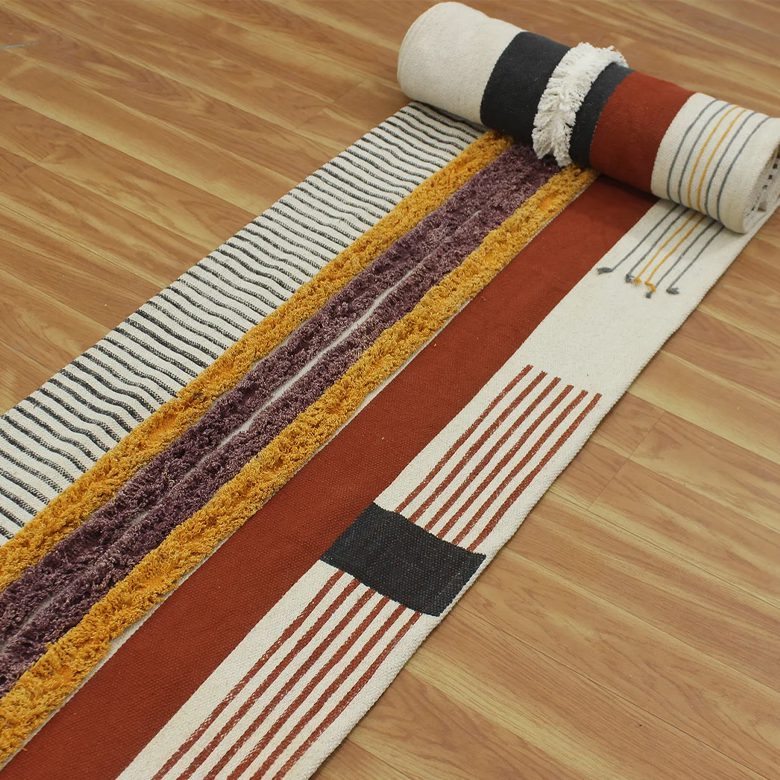
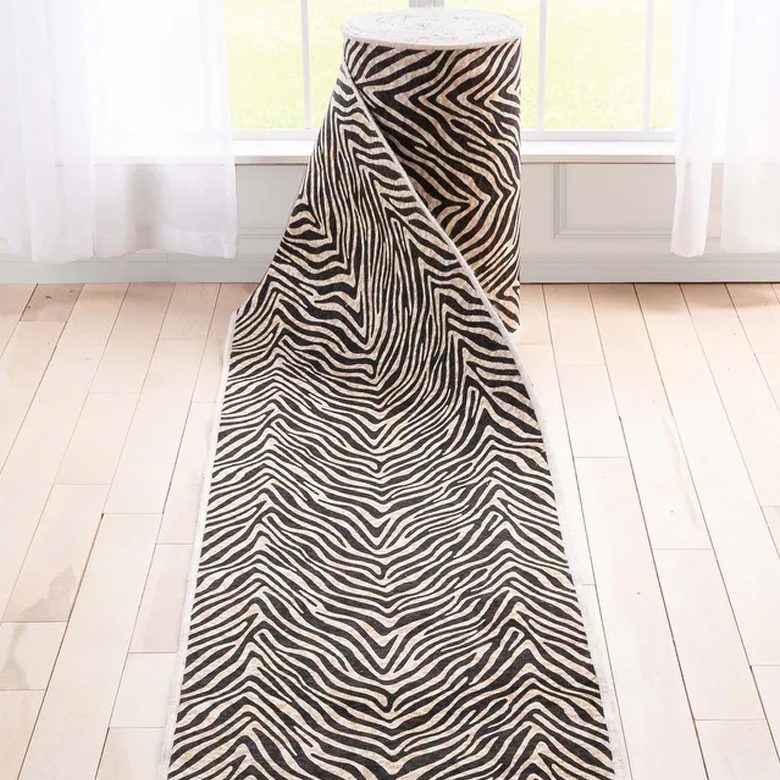
Pattern
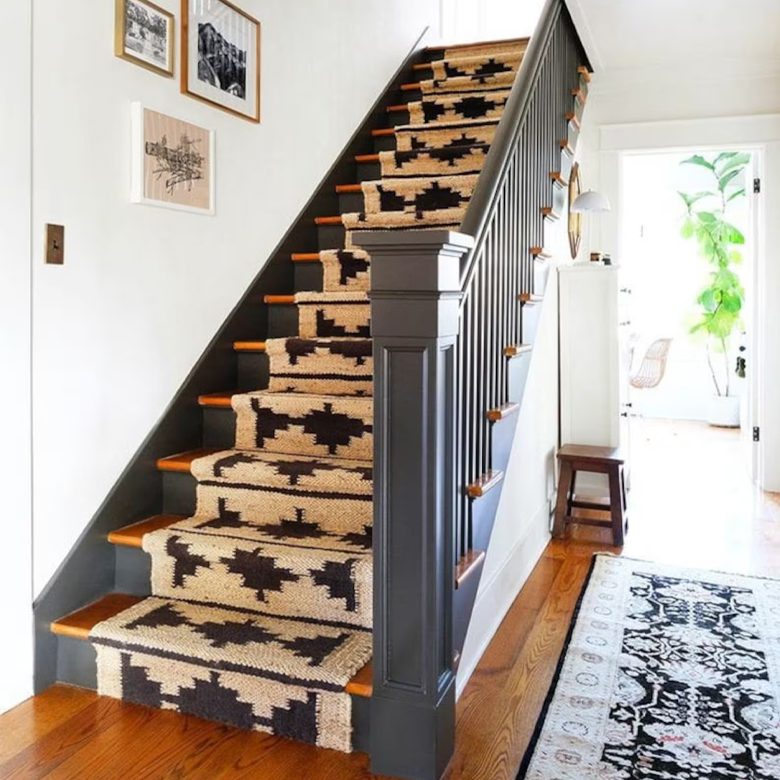
Go simple with subtle texture or bold with vertical stripes, prints, or eclectic pattern. Matching is easiest when the pattern extends all the way to the short edge of the runner. When planning your stair runner installation, you might want to avoid rugs with a precise geometric pattern that will be difficult to line up and keep straight. However, it’s completely up to you.

Prepare Your Stairs
Before you install the stair runner, consider the best way clean your stairs. First, vacuum or sweep and use a microfiber duster to get all those little particles. Next, mop thoroughly using a wood-floor cleaning product or a solution of 1/2 cup white vinegar in a gallon of warm water. Take into consideration the state of your stairs as well. Are they due for a fresh coat of paint or stain? You’ll want to get that finished a few days before tackling this DIY, as they’ll need time to dry. Lastly, take a floor polish like Rejuvenate Wood Floor Restorer to your clean stairs to really get them sparkling.
Measure and Establish Guides
One of the most important steps for how to properly install a stair runner? You must create guides. First, measure and mark the center point of each step. Then, subtract your runner’s width from the step width and divide that number by two. Lightly mark that distance on either side of the step to help keep the runner straight as you install.
Add Rug Pads
Trim a rug pad to size for each tread using fabric scissors. The best rug pads for installing a carpet runner on your stairs are thin but dense. There are two types of installation: Flat-top (when the carpet falls straight from the edge of the stair to the tread of the next step), and wrap installation (when the runner hugs the edge of the stairs and tucks under the lip).
For flat-top installation, each pad should be 1 inch narrower than the runner width and about 1/2 inch narrower than the tread depth, so it remains hidden. Add double-sided carpet tape to each side, as well as in the middle. Then, center the pad, line it up with the back of the tread, and staple it in place using a pneumatic stapler.
For a wrap installation, cut the pad so it’s 1 inch narrower than the runner and 3 inches longer than the tread depth. Then, wrap it around each step and staple in place so it’s tight around the step nosing.
What You’ll Need for Your Stair Runner Installation
- Tape measure
- Pencil
- Pneumatic stapler
- 3/8-inch to 1/2-inch staples
- Fabric scissors
- Utility knife
- Straight edge
- Double-sided carpet tape
- Marker
- Bolster chisel
How to Install the Stair Runner
- Start at the top and work your way down. Add a strip of carpet tape to the short end of the runner, and align the top of the runner with the bottom edge of the first step. Staple every couple of inches under the tread nose, starting in the middle and working your way out. Staple along the outer edges of the runner as well, to make sure it’s fully secure in place.
- As you pull the rug taut, use a bolster chisel to push it into the edge of the stair at the base of the riser. Staple every few inches along the base as well as along the outer edges.
- For a wrapped look, pull the rug taut around the nose of the stair, and use the bolster chisel to press it tightly in place as you staple every few inches underneath the nose. If you’re going for a waterfall look, pull the runner taut and staple every few inches along the edge where the riser meets the tread. Continue this process stair by stair.
- If you have to work with a couple of runners (for longer staircases), here’s how you’ll seamlessly transition from one to the other: As you near the end of the runner, complete the last full stair you can before running out of fabric, stapling the rug at the base of a riser. Leaving 2 or 3 inches for overlap, use fabric scissors or a utility knife to trim any excess, including the finished edge in order to reduce bulk. Begin again by overlapping and aligning the new runner over the cut edge of the first one, and continue stapling just as before.
- When you finally reach the stairs’ landing, pull the runner taut and create a crease at the base of the stairs using a bolster chisel. Measure a few inches from the crease and mark a line using the straight edge. Fold under the cut edge and staple in place. Voilà!
Tips on Installing Like the Bros
- If you’re working with a striped or directionally patterned rug, take a break to stand back after each stair to make sure the design looks straight.
- Vertical stripes and patterns work much better than strong horizontal stripes or patterns, which may never look completely straight on steps.
- Check your runner’s alignment after every step. It’s super easy to get a little off-center, and the mistake will get worse as you go if you don’t pay attention.
Need a New Runner?