Jonathan’s Spring Cleaning Tips to Get You Started Off Right

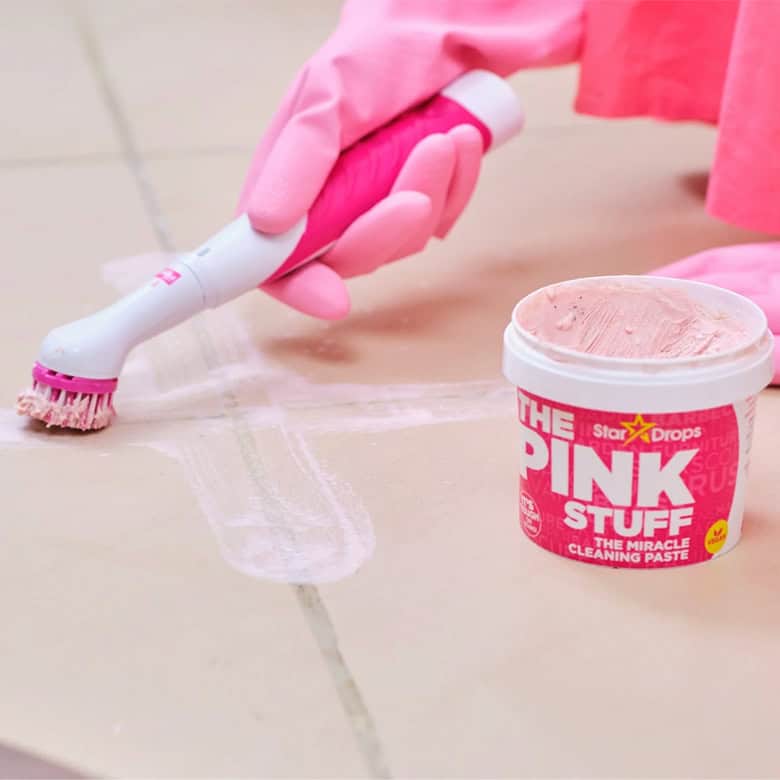
This site contains affiliate links to products. We may receive commission for purchases made through these links. Price at time of publish date may change.
Before getting started on your big spring cleaning project, it’s important to prepare yourself and your home for success! A big clean like this doesn’t just happen in a day. It takes a lot of work and tons of prep to make sure it goes off without a hitch. To save yourself any unnecessary headaches (and avoid pulling your hair out when it’s day three and you realize you’re out of white vinegar…), Jonathan put together a few of his very best spring cleaning tips. Having a well-prepared plan of action makes all the difference, leading to a more efficient—and enjoyable—cleaning experience.
Have you ever seen Jonathan’s laundry room or spotless refrigerator? Seriously, they’re organized to the nines! So if there’s one person you can trust to help prepare you best for your spring cleaning routine, it’s him. “I spring clean, like, 3–4 times per year because I love to just reduce down to what we really need. It helps keep you more efficient in your day-to-day life,” Jonathan says. “But the easiest way to do it is to kind of think of it like three steps.”
Step 1: Plan It Out
“Do all the planning in advance when you’re calm; you’re not frustrated, and set a budget,” Jonathan says. Think about what you need to buy for cleaning products and supplies, as well as for organization and storage, so you can outline the costs and not be surprised later. That way, you’re not unexpectedly breaking the bank to get your house sparkling-clean.
“Do you need to get extra storage containers? Dividers? Cleaning supplies? Whatever it might be, plan it all in advance and then stick to the plan. Because in the heat of it—when you’re covered in dust and you’re frustrated—that’s a bad time to start changing things.”
Step 2: Sort Items Into Categories
We get it—it can feel overwhelming to think about taking everything out of its place and sorting through it. But this is really where the magic happens, and where you can get rid of the most clutter (especially the clutter you didn’t even know you had!). “Take everything out of the room or the cabinet or the drawer, then lay it all out and divide it into four categories: Keep; toss; recycle; donate.” he says.
“Do you really need to have that hose that’s 40 years old and has holes in it? Probably not. Do you really need to have 14 different types of containers? No, you probably don’t. So, sort down to what you really need, and that makes it a lot easier,” Jonathan says. After you know what you want to keep, you can get to work organizing it without the unnecessary junk taking up space.
Step 3: Be Patient!
“Don’t take on so much that you’re going to get frustrated—you’ve got cobwebs in your hair and you just want to give up—because nobody also wants to live in a mess. Tackle what you can accomplish in a short period of time, and it will make it a lot easier for you,” Jonathan says. “Just have fun, take it in bite-size chunks, and you’ll really be successful.”


Bree Pulver O'Hagan
Bree is the Senior Digital Editor at DrewandJonathan.com. In the past, she’s worked for publications focused on home improvement and sustainable living. Bree’s Pinterest board is filled with cozy textures; vintage patterns; sculptural furniture; and moody, warm-toned colors. She has a degree concentrated in the intersection of writing and architecture, which influences her passion for exploring creative solutions to unusual home layouts and stylish renter-friendly decor. She’s a self-proclaimed pro at finding the best antique furniture in the most unlikely of places (but her cat Blue can certainly back these claims).
⚖️ How We Choose What to Recommend