The Best Method for How to Clean Baseboards, Plus Helpful Hacks

This site contains affiliate links to products. We may receive commission for purchases made through these links. Price at time of publish date may change.
Do you ever feel like, no matter how much you clean, your home still feels a bit grimy? Or maybe you’ve been looking at a scuff at the foot of the wall for way too long? If so, it might be time to clean your baseboards. Even for people who keep their homes in tip-top shape, baseboards are an easy spot to miss. Thankfully, they’re also pretty simple to clean.
Clean baseboards don’t just affect the way your house or apartment looks, they also contribute to how you and your family feel. Dust, allergens, and irritants can quickly build up in corners, causing anyone with allergies to have uncomfortable symptoms. Well, not anymore! Below, we’re providing a step-by-step guide to the most tried-and-true process for how to clean your baseboards.
Looking to refresh other areas of your home? Check out our easy-to-follow guides to how to clean blinds, microwaves, garbage disposals, and grills, too.
Materials You’ll Need
Instructions
Step 1: Vacuum Away Dust and Debris
The first step in cleaning your baseboards is to vacuum away any dust or surface debris. Use the vacuum attachments that can best get into crevices and corners.
Step 2: Remove Residue
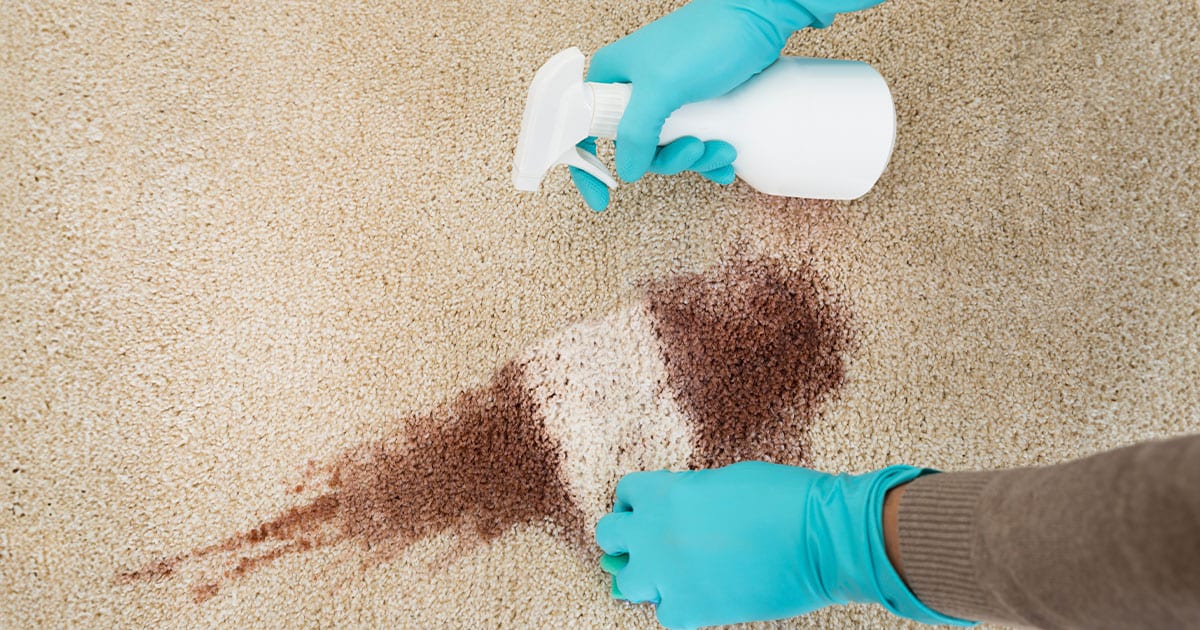
Next, use a soft cloth and a mix of gentle soap and warm water to remove stuck-on dirt. If you’re working on kitchen baseboards, use a degreaser as well. A toothbrush is helpful for getting into corners or grooves, and softly scrubbing spots that are particularly challenging.
Step 3: Dry
Dry the baseboards with a clean, soft cloth.
Step 4: Address Problem Areas
If you still have problem areas, don’t panic—a Mr. Clean Magic Eraser works wonders on all kinds of grease and dirt. Use it as instructed on the package to rub away stubborn stains.
Step 5: Dry Again
Grab another clean towel and dry the sections of your baseboards that are still wet. (If you still have marks you haven’t been able to remove, consider doing some light paint touchups.)
Dos and Don’ts
DO
- Do wait until the end of your cleaning routine to address baseboards. Dusting, sweeping, and other chores and can shake dirt loose, only to have it land in corners on the floor.
- Do clean baseboards every 3 to 4 months.
DON’T
- Don’t use abrasive cleaners that can damage paint or strip wood finish.
- Don’t wipe your baseboards with a wet cloth before you vacuum. It’ll just make the dirt harder to get off.
Other Hacks to Try
As with nearly all household chores, you can find loads of hacks online for cleaning baseboards. Some of our favorites include:
- Save your back the pain of bending down by wrapping a wet cloth around a broom or mop and using that to reach the baseboards.
- To remove stubborn dirt that’s built up in tight corners, grab the same air duster cleaner that you’d use to clean your keyboard or laptop. Spray it onto your baseboards to loosen up stuck-on pet hair, dust, debris, and other unwanted culprits.
- In a pinch, use a cleaning wipe or baby wipe on scuffs and stains.
- After you’re done cleaning, rub your baseboards with a dryer sheet to help prevent dirt from settling there in the future.
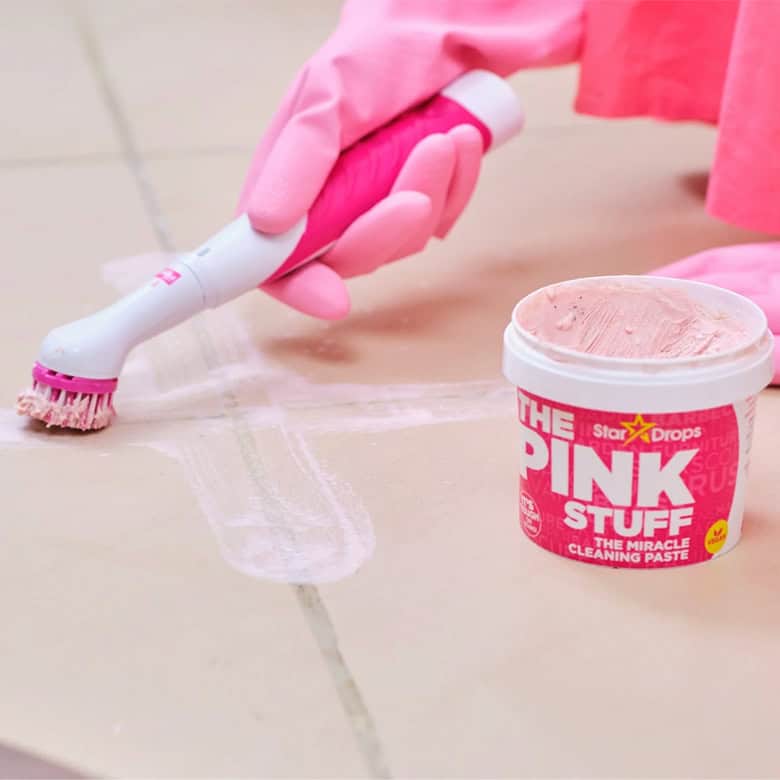
12 Best Grout Cleaners to Get Your Bathroom Sparkling
These highly-rated formulas get the job done right the first time.
Read More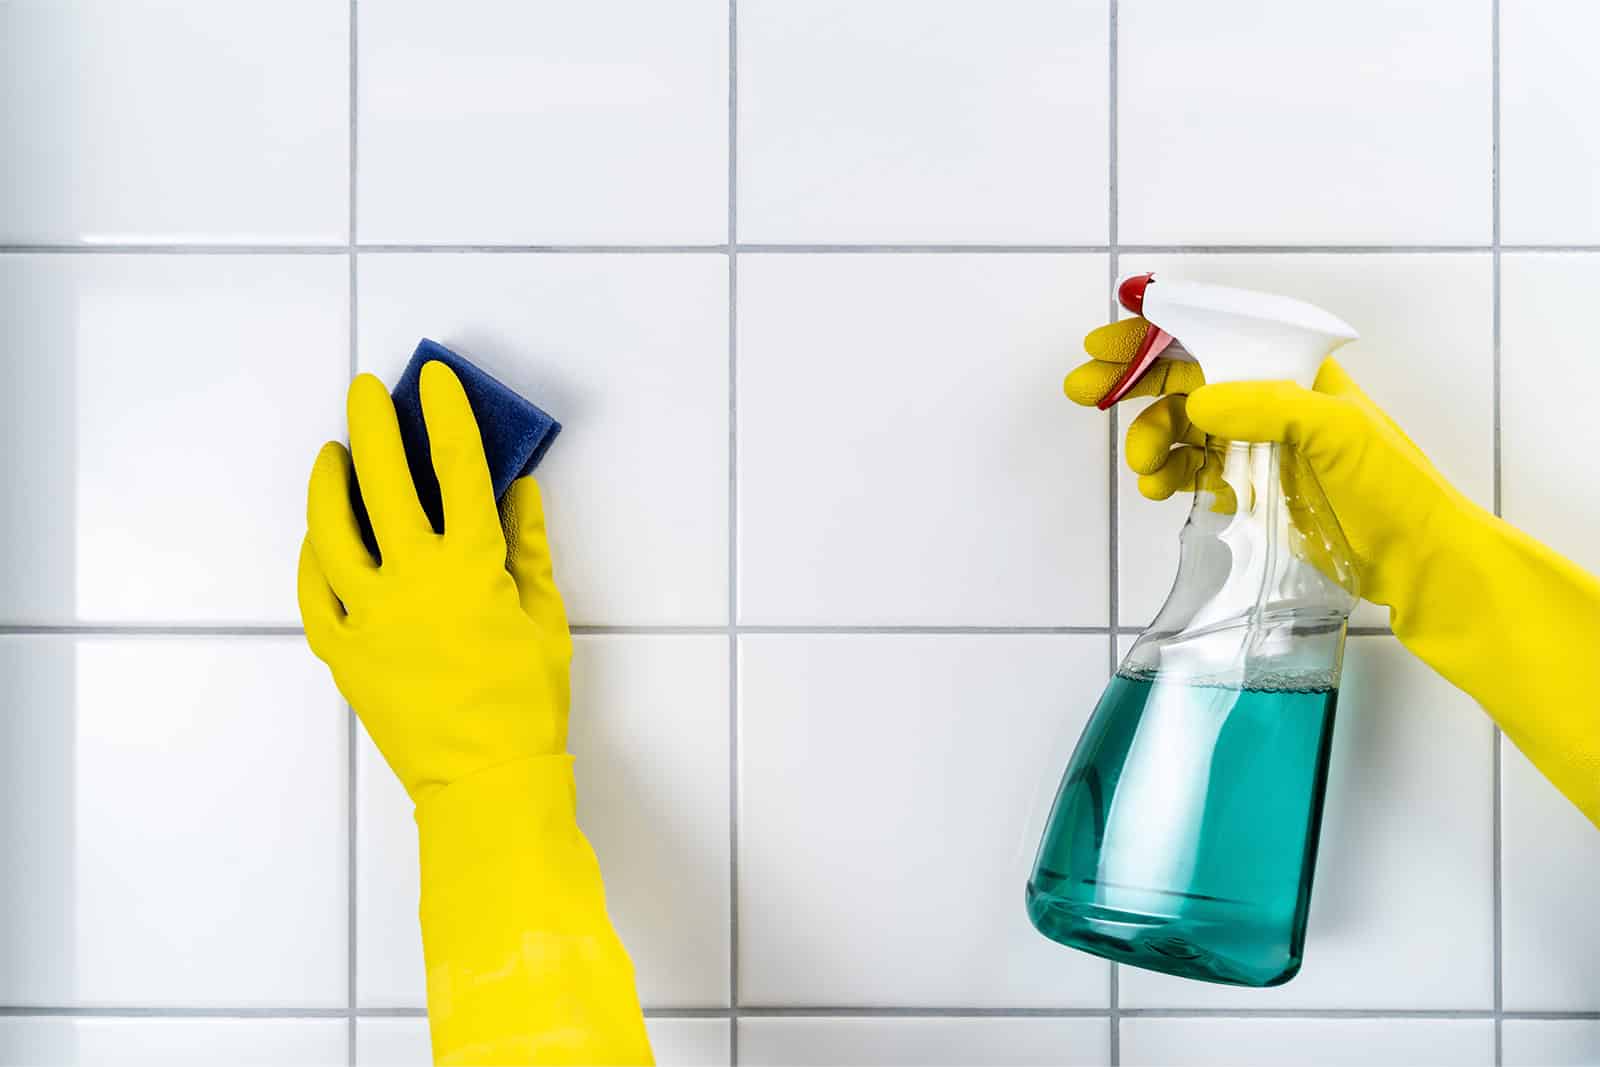

Amy Gordon
Amy Gordon is a freelance writer and editor who splits her time between New York, NY and Vieques, PR. When she’s not at her desk, you’ll probably find her on a plane with her nose in a book, in the Caribbean snorkeling through coral reefs, or on the couch watching true crime TV. Learn more and read her work at www.amygordonmedia.com.
⚖️ How We Choose What to Recommend