Weekend DIY: Busted Bike to Perfect Garden Planter
This site contains affiliate links to products. We may receive commission for purchases made through these links. Price at time of publish date may change.
When the weather warms up, we all get the itch to spend more time outside on our patios. And along with those backyard barbecues and late night s’mores around the bonfire, we’re also excited for all the outdoor DIY projects! Drew and Jonathan have done quite a few DIY projects throughout the years, but today, we’re revisiting one of our favorites. On Leah and Jason’s episode of Property Brothers: Forever Home, the Bros helped redesign a new outdoor seating and garden area. But when they found an old bike down the street just waiting to be picked up by a garbage truck, they had an idea: Up-cycle the bike into a gorgeous bicycle planter for their garden! Not only did they save the bike from a landfill, but they also made Leah and Jason’s yard more beautiful and unique. And now, we’re showing you how you can make one of your own, too.
One of the best parts about this DIY is that you can find an old bike pretty much anywhere! If you don’t have one lying around your house already, look to your neighborhood. If you have a trash drop-off site, a local curb alert page on social media, or a donation center nearby, you’re almost certain to find an old bike close to you. Once you’ve got your set of wheels secured, it’s time to find its perfect home in your garden. Look for a spot that you’ll be able to lean the bike, like on a solid wall or up against the fence. (Our advice? Don’t rely on a kickstand—there’s a chance you’ll find your garden crushed and scattered anytime there’s a storm!) This is a great project if you need to add some character to an empty patch on the house, porch, or deck, so the bike is sure to stay steady. Now, let’s get ready to spruce up your yard and give your garden a little creative twist!
Tools You Might Need

Step 1: Remove Unnecessary Parts
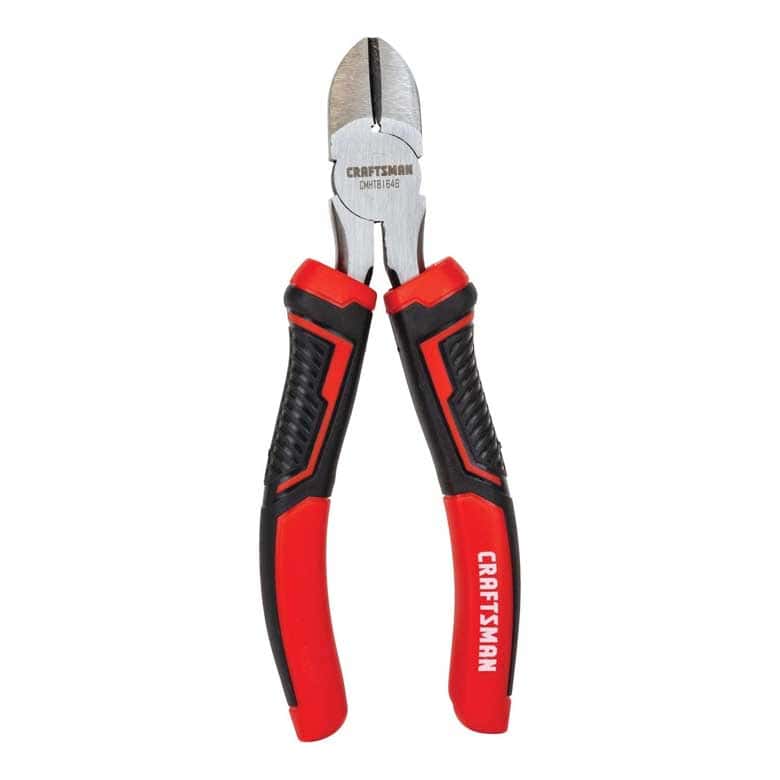
To start, we’re cutting brake lines, removing streamers, and getting rid of anything we don’t need for the final product (or that just gets in the way). You can cut brake lines pretty easily with a pair of pliers or wire cutters; on fixed-gear bikes, you likely won’t even have to worry about it.
It’s up to you whether you leave the chain on. In the project for Leah and Jason, the Bros took it off, cleaned it, and painted it before reinstalling. It makes for a cleaner look, if you can salvage it, and the bicycle planter will look a bit more effortless in the end.
Step 2: Prep the Bike Frame
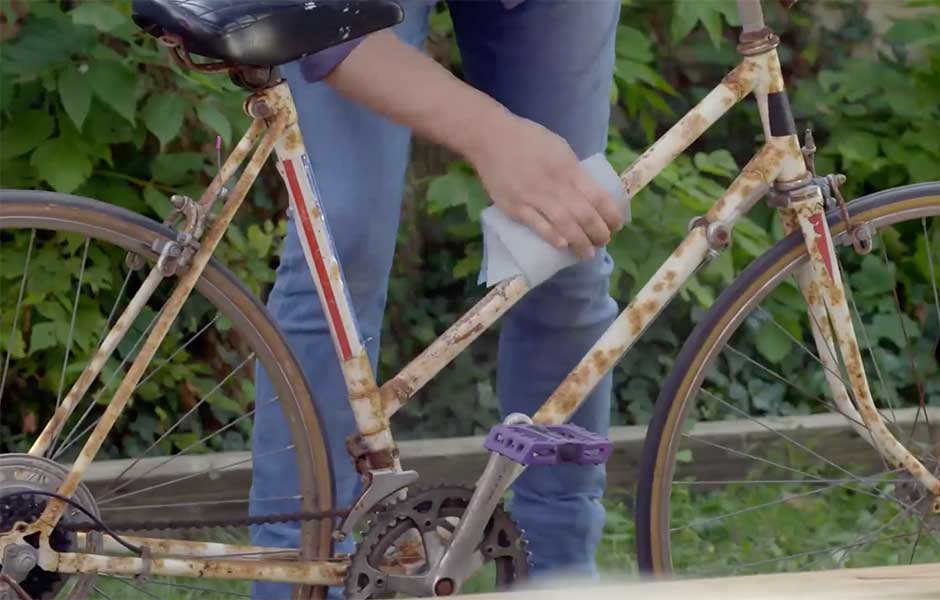
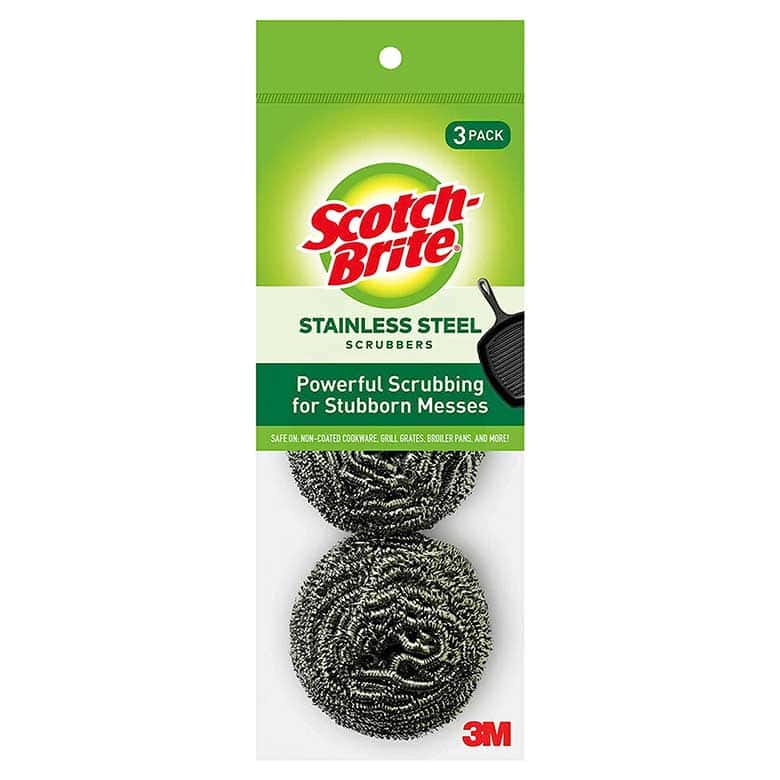
For this part, it definitely helps if you picked up a bike with very few cosmetic issues. Unfortunately, you might spend some time on rust removal if you don’t. To prep the bicycle, you can use either sandpaper or steel wool. All you’re trying to do is smooth out the surface so that the paint adheres better, so it doesn’t have to be perfect. If you use a spray paint designed to go right over rust, then you’re in even better shape.
You also want to make sure there’s no grease on the frame—it needs to be clean. For this, you can use anything from dishwashing soap to a stronger degreaser, depending on how tough it’s stuck on.
Step 3: Paint Your Bicycle Planter
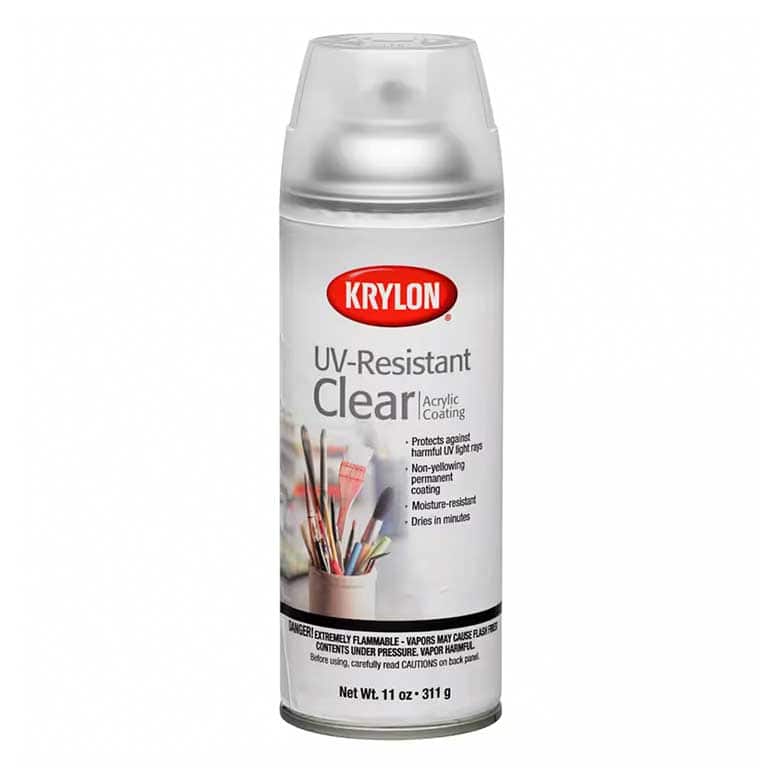
Spray paint is the fastest and best choice. Some people may like a matte finish, but the Bros recommend going with a paint that’s got a little bit of a sheen to it. Of course, you’ll also want to make sure that it’s meant for outdoor use. Some modeling spray paints are not good outside, so double check the label.
Then, remove any parts that you don’t want to get spray paint on, like the wheels. You might want to look for a bike that has wheels with quick-release levers. (It’s way easier than wrenching and fighting decades of old grease and rust!) Plus, if they do have a lot of rust on them, you might need to go over the wheels and spokes with steel wool as well. If you really want them to shine, add some Simichrome Polish—a little goes a long way.
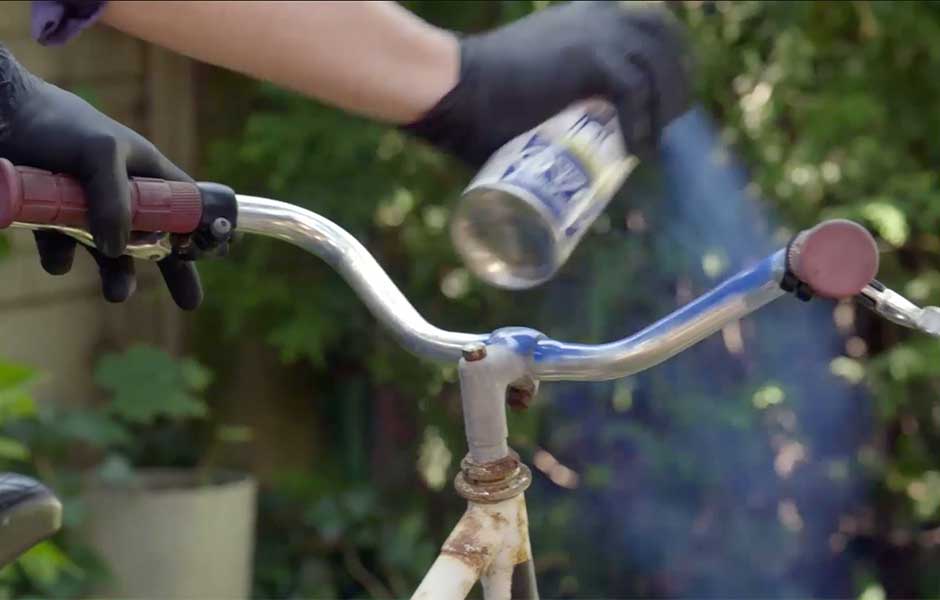
After that, you can go to town on the frame. Make sure you have an old tarp or plastic sheets to lay down where you’re painting. If you don’t have a tarp, laying down some old plastic or paper bags will do the trick.
Step 4: Attach the Basket
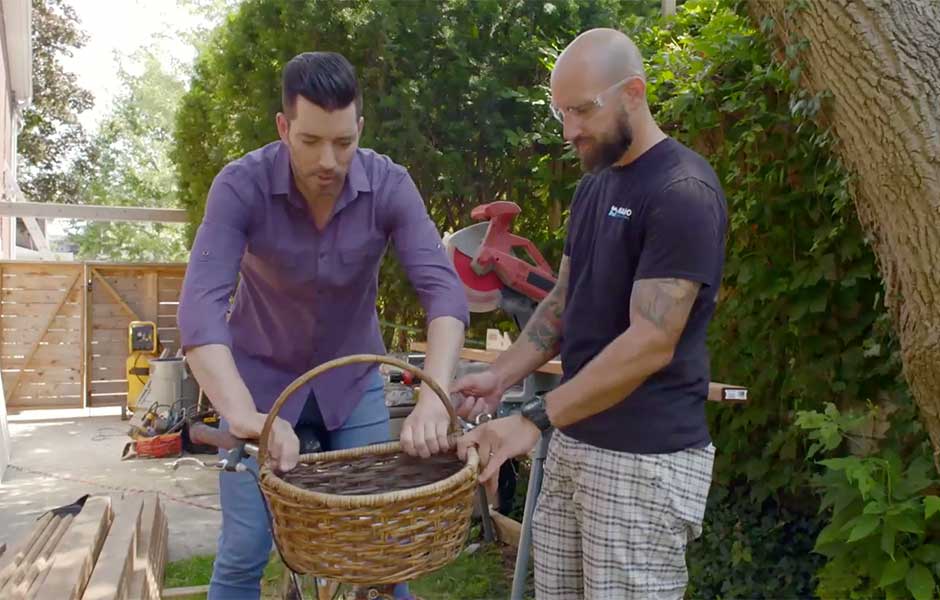
Once you’ve reinstalled the wheels and your newly-painted chain (if you kept it), there’s one final detail to add. This is also the one place you’re probably going to want something new. A new bike basket will be weather-resistant, and you can choose the look you want to match your outdoor space. Something woven or with slats will work best with the elements. If it doesn’t come with bike straps, you can easily run some zipties through the back to attach it to the bike. And if you prefer, you can even paint the basket if it works better with your theme.
Step 5: Add Some Plants
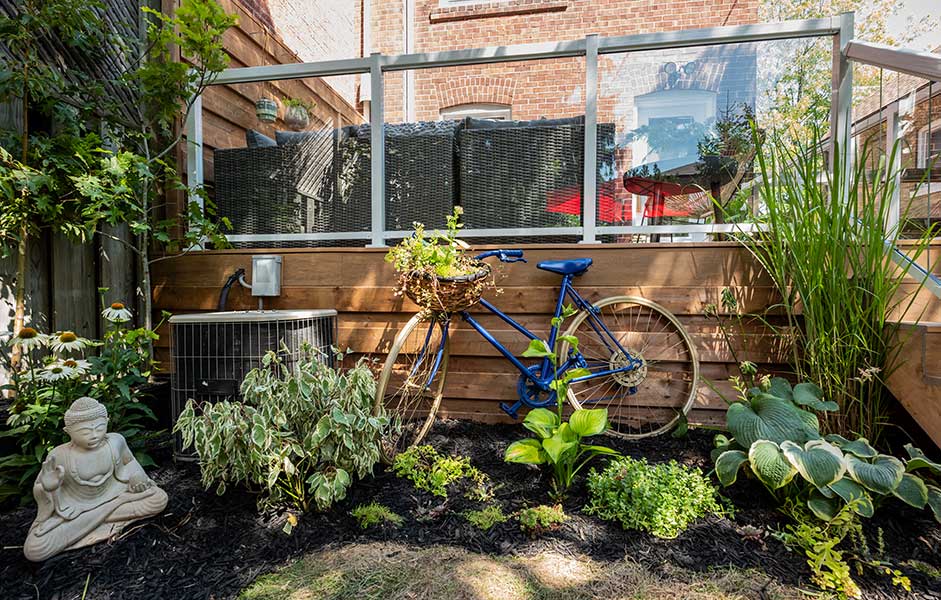
Now you’re ready to plant! Put some basic potting soil inside the bicycle planter basket, and then add whatever flowers or plants you like. Depending on what color you painted your bike, consider coordinating your flowers to match. Or instead, base it around your other outdoor decor. It’s completely up to you. Congrats—your bicycle planter is finally finished!
More Frequently Asked Questions
What are the best low-maintenance plants for planters?
Some easy-to-grow flowers and plants that thrive in smaller planters (like bicycle baskets) include:
- Rosemary
- Lavender
- Begonias
- Petunias
- Geraniums
- Fuschia
- Angelonia
These flowers and plants will do well in shallow soil, and are hearty enough to thrive in a variety of environments, when taken care of.
How to plant flowers in a bicycle basket?
1. Prepare the basket with a lining of landscape fabric, coconut fiber, moss, or even a plastic bag to help prevent the soil from falling out at the bottom.
2. Then, fill the basket with a healthy potting soil (make sure to leave enough space for your plant or seeds!).
3. Afterward, select and arrange your plants and flowers in the basket. Double check that the plants you’re arranging together can cohabitate well in close quarters.
4. Make sure there’s proper drainage in the basket so the flowers don’t get waterlogged. You can test this simply by watering the plant—if some water drips from the bottom, then you’re good! If not, poke or drill a few small holes into the bottom of the lining to help create that drainage.
5. Give the plants a good drink of water, and step back to admire your beautiful work!
What do you line a flower basket with?
You can line a flower basket with a variety of materials—the most important parts are that they provide adequate drainage, and they don’t disturb the plant’s ecosystem. The most common materials to use are sphagnum moss, landscape fabric, coconut fiber or coco coir, or even garbage bags.
Catch up on more Property Brothers: Forever Home on MAX.
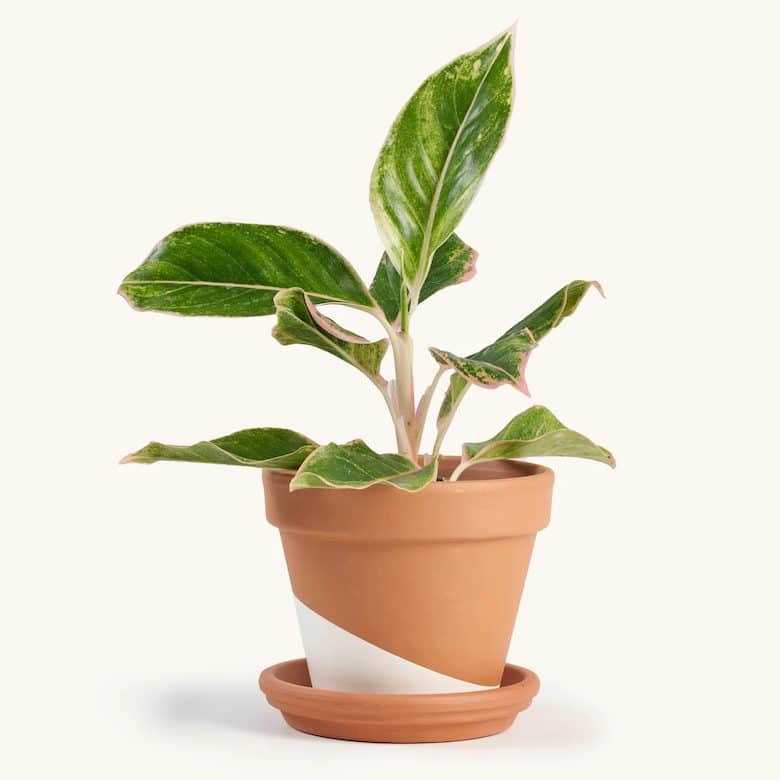
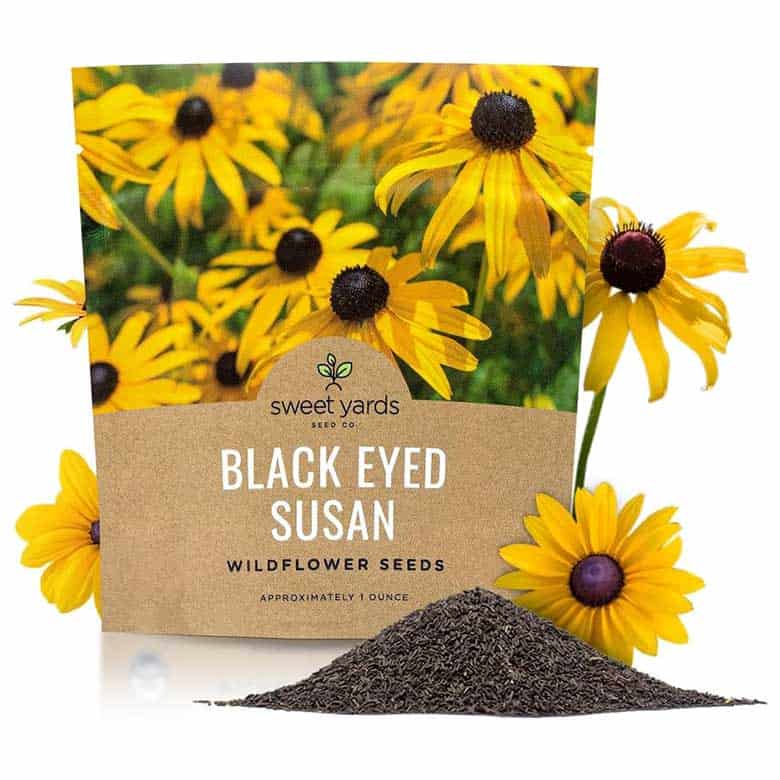
Shop Plants and Flowers
Ultimate Guide to Summer
Get our best decor ideas, shopping recommendations, travel tips, and more!
SUMMER FUN!