How to Trim Bushes So Your Landscaping Looks Beautiful

This site contains affiliate links to products. We may receive commission for purchases made through these links. Price at time of publish date may change.
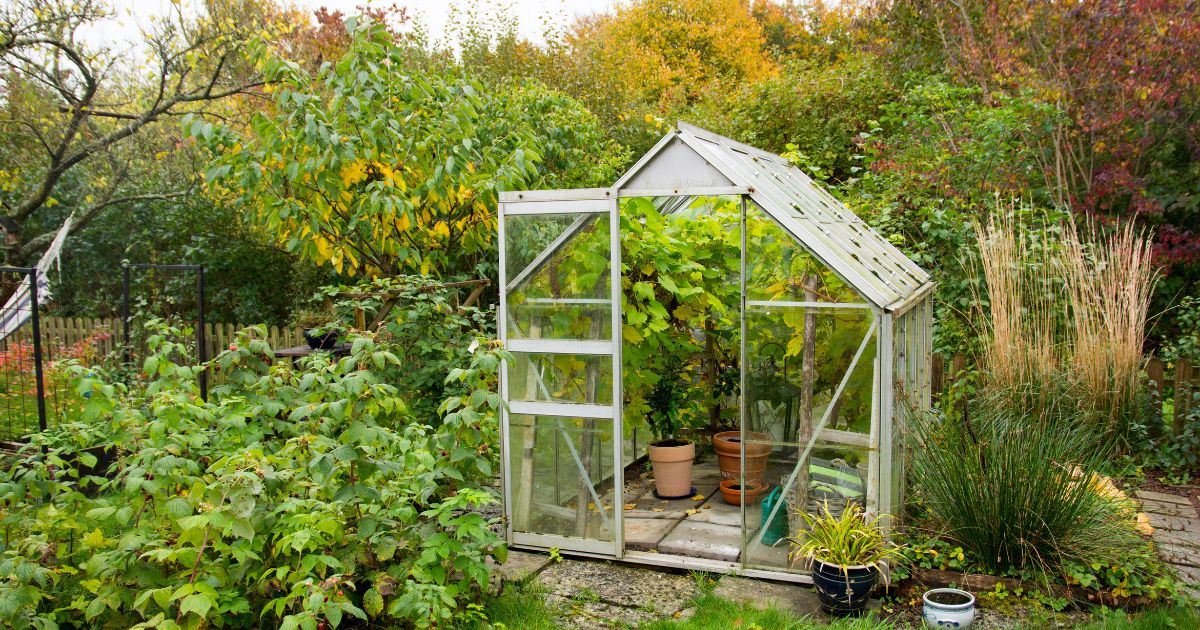
Ready to get your home in tip-top shape for spring? From organizing the bedroom to rethinking the bathroom to cleaning the kitchen, we’re here for it. While focusing on the inside of the house is important, the outside needs love, too. And when the winter fog lifts and the temperatures just start to rise, it’s a good time to give your bushes or hedges a little TLC. Whether you are a first-time trimmer or just need a refresh on what to do, keep reading for advice on how to trim bushes so your landscaping can look clean and welcoming.
Maintaining exterior greenery can seem intimidating, but once you’re armed with the right information and tools, you’ll be on your way to beautiful bushes. Up for the challenge and willing to learn? You’re in the right place. Below, we take you through the process of how to trim bushes, step by step.
What You’ll Need
- Eye protection
- Pruning shears
- Long-armed loppers
- Pruning saw
- Garbage bag or other disposal plan
How to Trim Bushes
Step 1: Prep and Protect
Make sure you have all of the items you need before you start snipping, then suit up in your safety goggles and gloves.
Step 2: Excise the 3 Ds
The first parts of the bush that you’ll want to remove are anything that looks diseased, dead, or damaged. Take a close look at the branches, leaves, and stems, and identify what needs to go. Using your shears, cut these branches as close to the base of the branch as possible, where the branch connects to other branches. Use the part of the shears closest to the “back” of the jaw of the shears where the force is most powerful to ensure an even cut.
Grab your long-armed loppers for anything that’s out of arm’s reach. For thicker branches that are too much for shears to handle, use the pruning saw.
Step 3: Thin the Inside
Working from the bottom of the bush to the top, cut back any of your bush’s interior overgrown spots. You want enough space for air, rain, and sun to circulate. Cut the most unruly and crowded sections first, then move on to areas that need just a little snipping here and there.
Step 4: Shape the Outside
Take a step back and look at your bush from a few feet away. Note any branches that are out of place or don’t fit with the silhouette you’re going for and utilize your tools to get rid of them. Another option is if you have a power trimmer and know how to properly operate it, you can use it to help you achieve an even look.
Step 5: Clean Up
Gather your clippings in your trash bag, dispose of them, and pat yourself on the back for a job well done.
What month is best to trim bushes?
The best time to trim bushes is in the late winter before new springtime buds have formed. Since freezing temperatures can leave a newly exposed cut vulnerable, wait for a relatively mild-weather day that’s not too cold.
What is the best way to trim an overgrown bush?
To best trim an overgrown bush, remove the thickest branches first. If the branches are too thick for shears, use your pruning saw and start at the base where it meets the next branch. Try to cut as evenly as possible; jagged cuts can stunt growth.
Is there a wrong way to trim bushes?
Don’t prune from the middle of the branch. Instead, trim at the base. Uneven cuts can lead to new damage, so be sure to keep your trimming even and steady.
Liberty Home Guard Home Warranty

Amy Gordon
Amy Gordon is a freelance writer and editor who splits her time between New York, NY and Vieques, PR. When she’s not at her desk, you’ll probably find her on a plane with her nose in a book, in the Caribbean snorkeling through coral reefs, or on the couch watching true crime TV. Learn more and read her work at www.amygordonmedia.com.
⚖️ How We Choose What to Recommend