How to Build and Decorate Your Own DIY Bean Bag Toss
This site contains affiliate links to products. We may receive commission for purchases made through these links. Price at time of publish date may change.
One of the best things you can do when the weather warms up is grab the family and play fun backyard games. You could be pickleball or volleyball people, or maybe you like to hop in the water and get out the pool toys (if you’re so lucky!). But there’s almost no outdoor game as popular as a bean bag toss. Also known as bags or cornhole, this has been a staple for years—and it’s time to get on board with your own DIY bean bag toss.
Sure, there are plenty of bean bag toss games you can purchase online. But why not make your own? You can build these boards with lumber you might have around the garage, or with a quick trip to the hardware store. The more fun part, though, is what goes on top: the decorating and design. It’s easy with Drew and Jonathan’s helpful tips below, plus you can use it to entertain the kids while they’re on summer break. Or, invite friends over and make it into an outdoor party with snacks and sips. No matter how or who you decide to create your DIY bean bag toss with, you’ll enjoy the process and have a custom result you can use for years to come.
Ready to show off your artistic side, all in the spirit of competition? Let’s get started!
Items You May Need

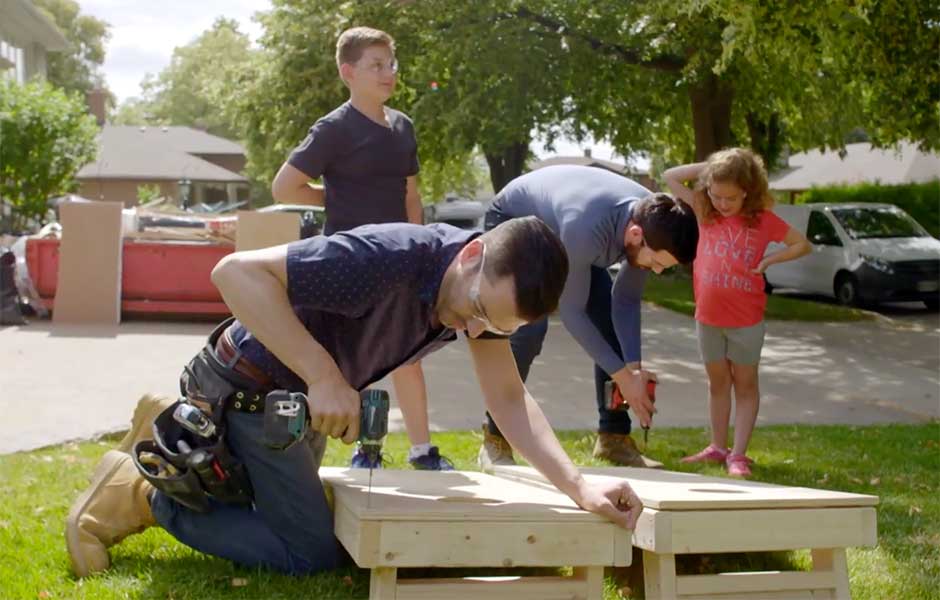
Step 1: Build The Boxes
You’ll need a few tools to construct the boxes themselves, which you can make as simple or as official as you like. The great thing is this won’t take much: a few 2x4s, some plywood and deck screws. The big feature that we’ll focus on is the plywood top: you want it to be at least a half-inch thick, and smooth. (Sand it down first if you need to.) Get those deck screws in and then putty over the holes for a smooth surface.
Step 2: Choose the Right Paint
You can prime the boards first if you want to, but it’s not necessary— it really depends on how elaborate you’re wanting to make the designs (and, let’s face it—if the kids are ready to paint, you can forget the primer). Look for a good, quality exterior paint that won’t get soaked up by the wood. Since your surface area is pretty small and you’ll likely want a range of colors, this is the one time we’ll tell you not to buy more paint than you think you’ll need (unless you’re ready to paint your house the same colors).
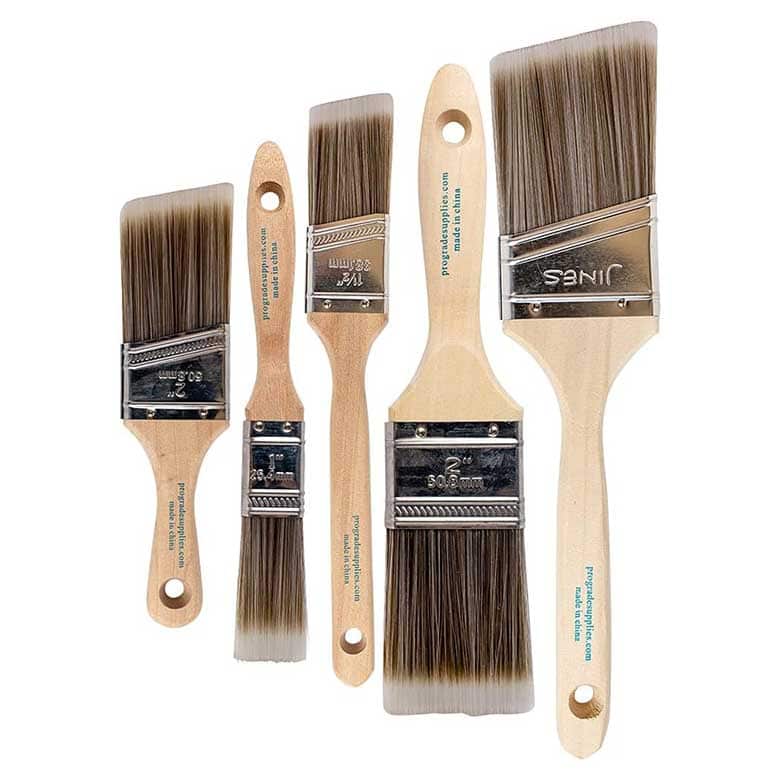
We generally recommend small brushes like the one seen above, but if you’re looking to cover a big area, you might want to have a small roller on hand.
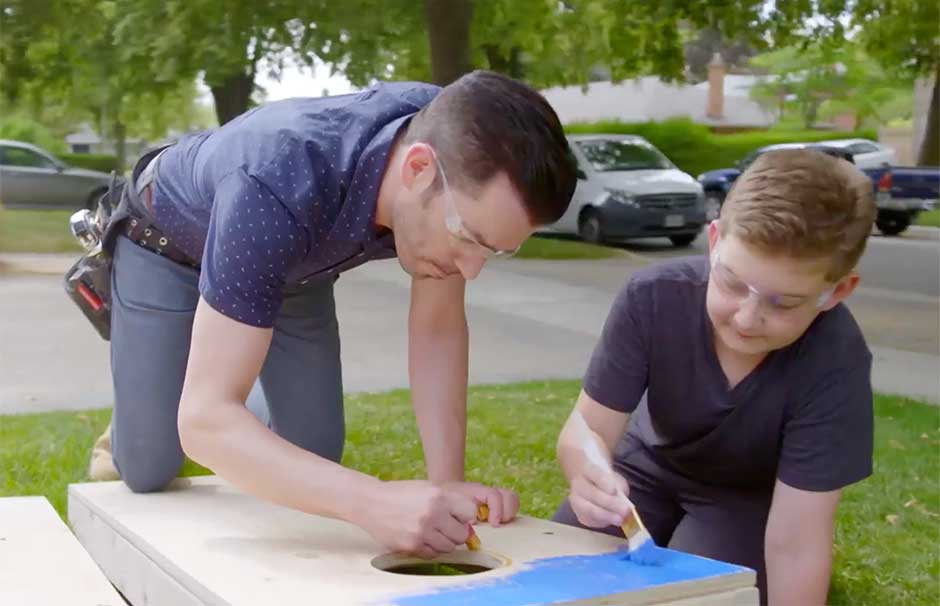
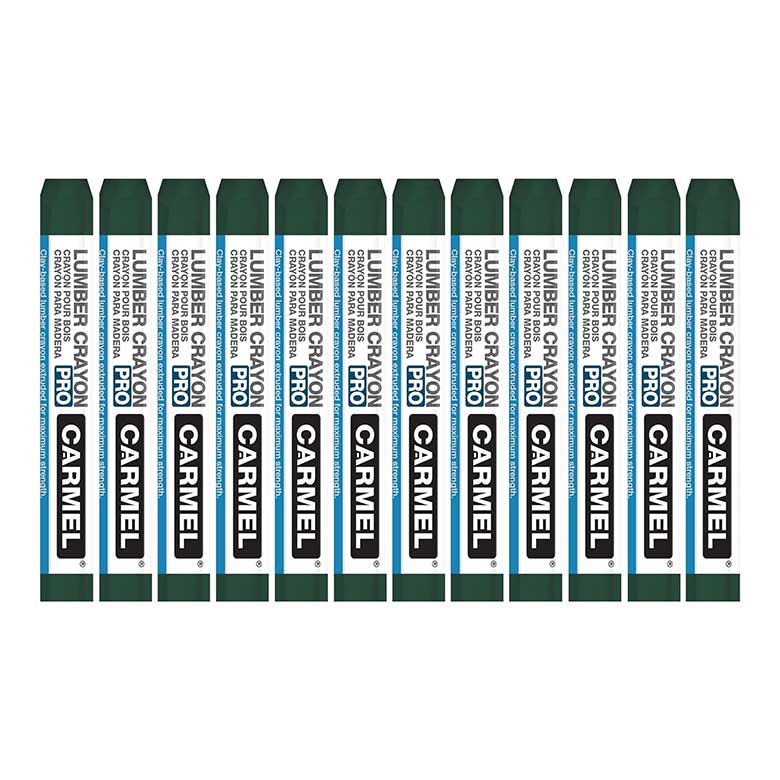
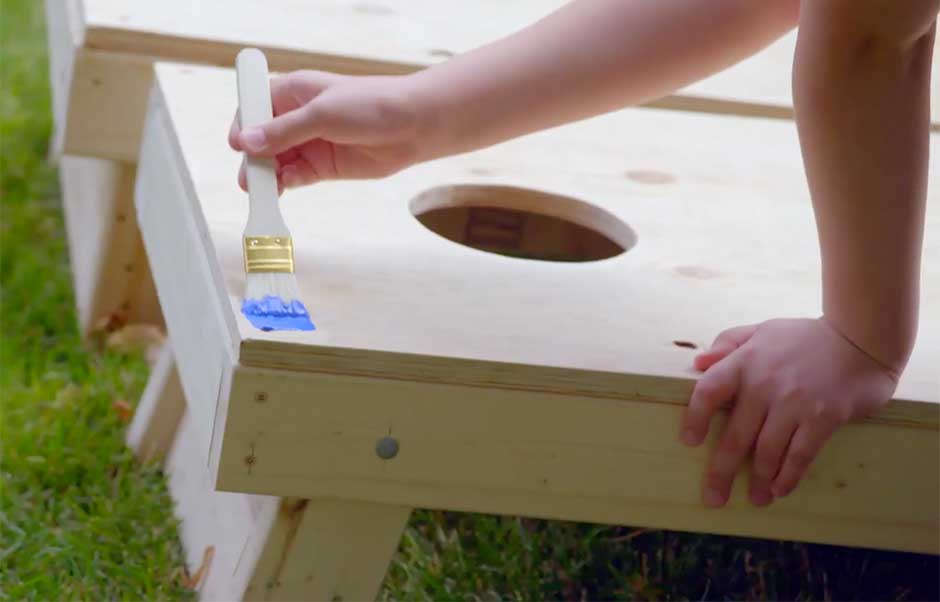
Step 3: Get to Painting (Or Coloring)
There’s an alternative to paint if you’re worried about younger kids controlling a brush, or if you’re looking to minimize a mess: lumber crayons. These won’t show up as well on the boards, but with some adult help to fill in the gaps, they’ll work just fine. (And if the kids are happy, you’ll probably be happy, too.)
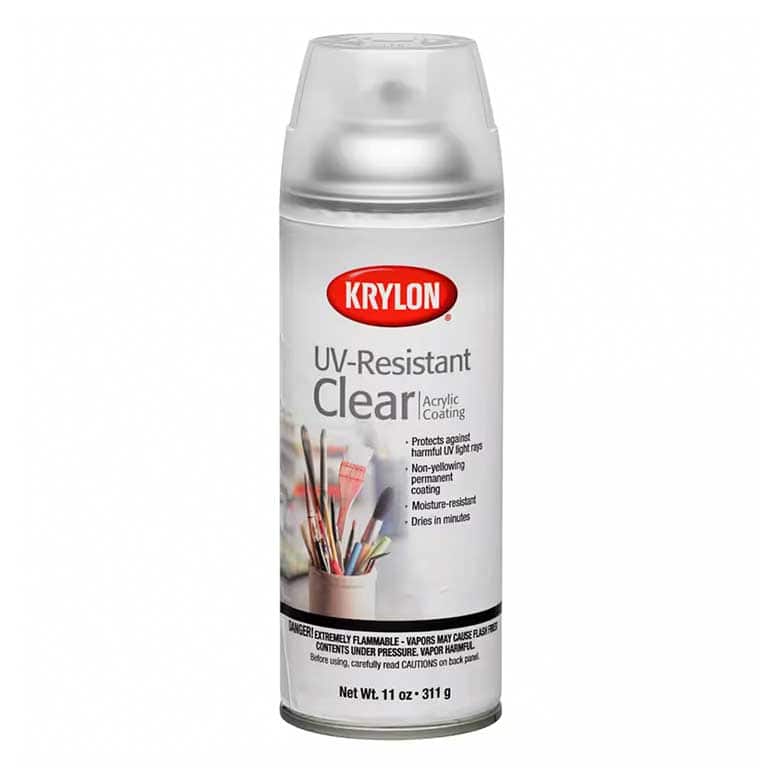
Step 4: Seal It Up
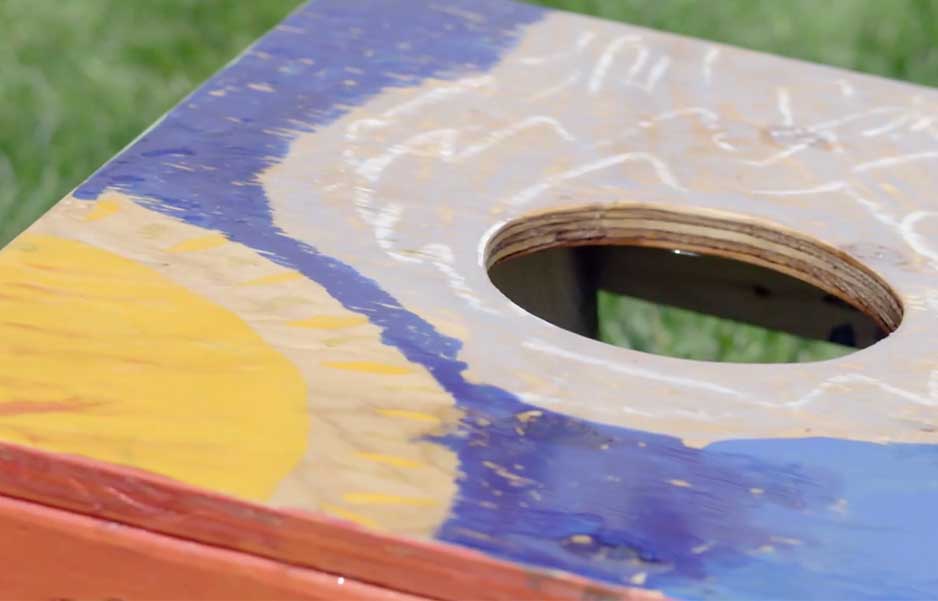
The most important step is the last one: the clear coat. This will protect your artwork and keep it from chipping. You want to look for a spray coating that is UV-resistant (so it doesn’t yellow) and you want a hard, smooth surface. Some clear coats have a mildly sticky surface when dry; you don’t want that. Look for one with good customer reviews.
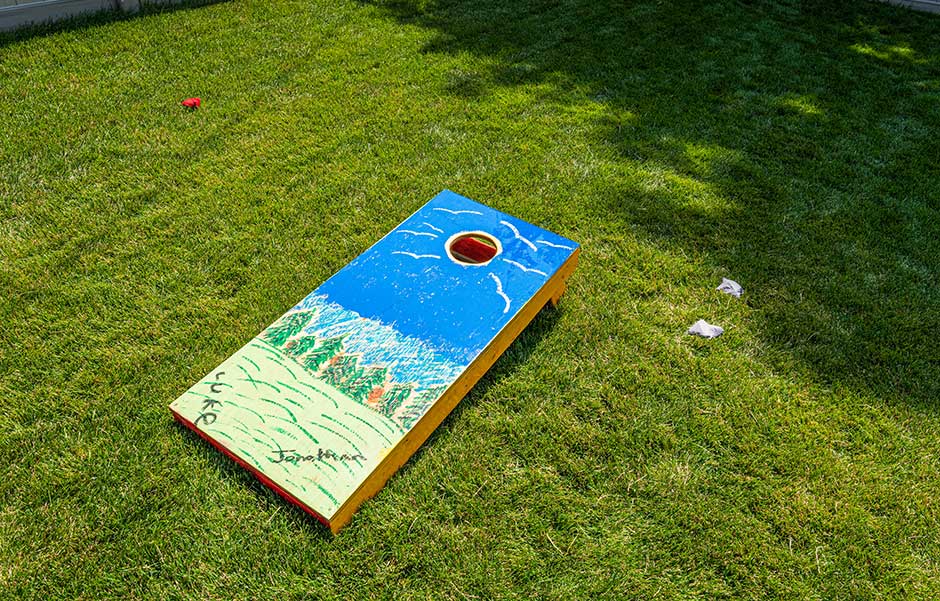
Step 5: Have fun!
You’ll obviously need some beanbags; if you’re looking into getting into some serious games, consider duckcloth bags that will hold up to weather. Other beanbags come in all sorts of colors and designs, so it’s another great opportunity to get the kids involved, too. You’ll be ready for a summer filled with the “thonk” of beanbags on boards and the swish of a perfect toss.
Ultimate Guide to Summer
Get our best decor ideas, shopping recommendations, travel tips, and more!
SUMMER FUN!