Drew & Jonathan Show You How to Pull Off a Gallery Wall
Check out our hacks for creating the perfect gallery wall and the tools you’ll need to pull it off.

Pick a pattern
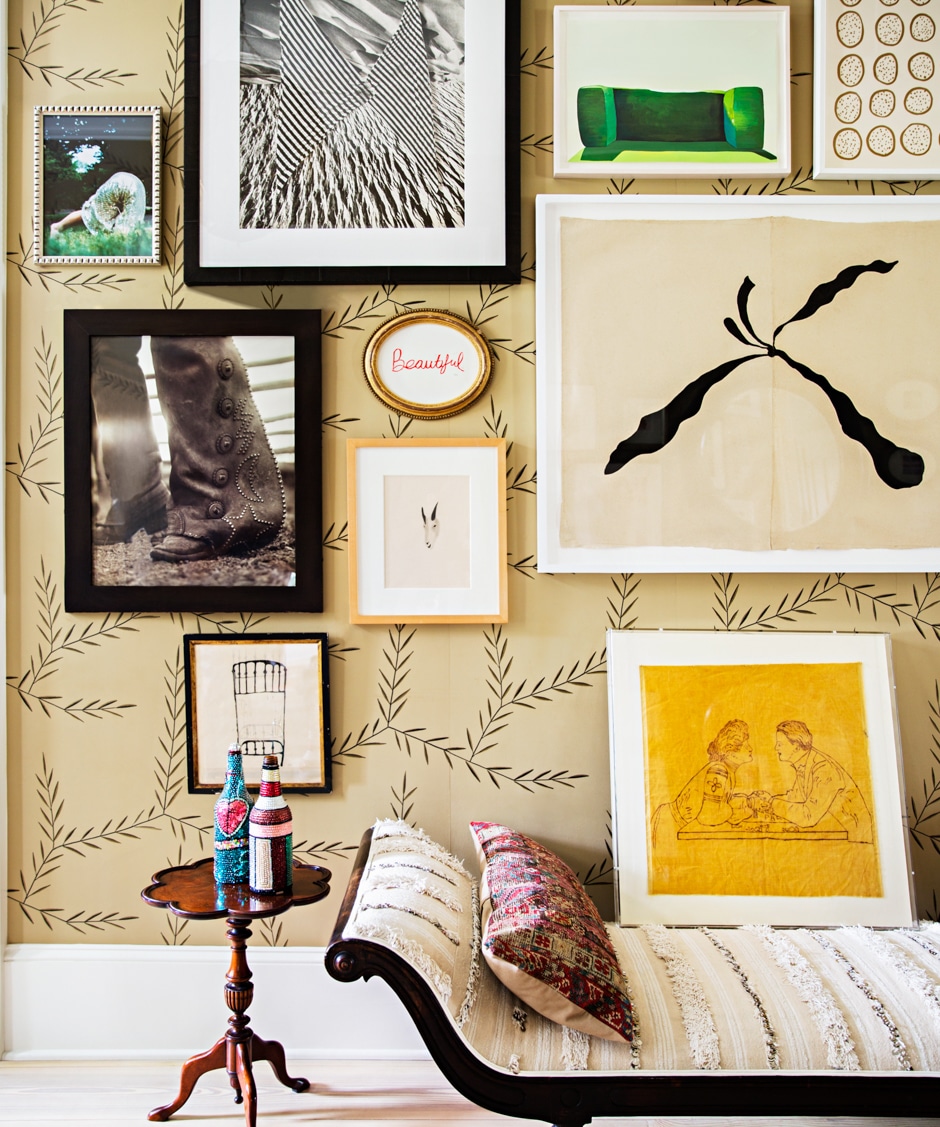
Want a calm, cool, and collected look? Symmetry is your friend. Use frames of similar color, size, and style, and choose artwork that’s in the same color family. For a more eclectic look, mix and match frames, and even hang objects like a plate or sculptural initials. Either way, space frames and objects evenly so it looks intentional and professional.
Plot it out
Do it the old-fashioned way! Trace frames on kraft paper, cut them out, and tape them onto the wall, moving them around until you have the perfect arrangement. Remember to set a guideline with painter’s tape for the bottom-most frames. We like to keep it 10 inches above the sofa.
Get techy
We can all use a little help visualizing, and yes, there’s an app for that. Take a photo of the wall and of each art piece. Then pop them into a simple program like Pages and rearrange until you’re happy. Or use a gallery-wall design app like Wallary, which will also help with frames and mats and pretty much does all the work for you.
Save the strips for last
Apply picture-hanging strips to frame backs to prevent tilting and keep frames straight, but only after you’ve landed on your final arrangement and made all your tweaks! This will save you some time and frustration. Trust us—we’ve made this mistake before.
“Maintain a similar distance between frames, even in an asymmetrical grouping. Too much or too little space can look like a mistake!”
—Drew
Must-have tools
- tape measure
- level
- stud finder
- hammer
- nails, hardware, or picture-hanging strips
- cordless drill with drill bits
- nail filler (mistakes happen!)
- brush with touch-up paint
- painter’s tape
By Drew & Jonathan | Photograph by Peter Yang | Wall photo: Photography Brittany Ambridge/Otto


